With the help of SqlBak, you can make not only scheduled database backups but also restore SQL Server backup when you need it. In this blog post, we are going to explore the possible ways of restoring your database with the help of SqlBak.
Let’s assume that your database backup plan is full backups once a day at 00:00, differential backups every 6 hours, and transaction log backups every 30 minutes. Everything works fine, all backups are being made according to your schedule, but something has happened, and your server fell down, and all the data is gone. What will you do in this case? Will you panic or just click the restore button on your SqlBak Dashboard? Follow these simple steps and learn how to restore SQL Server backup.
How to Restore SQL Server Backup
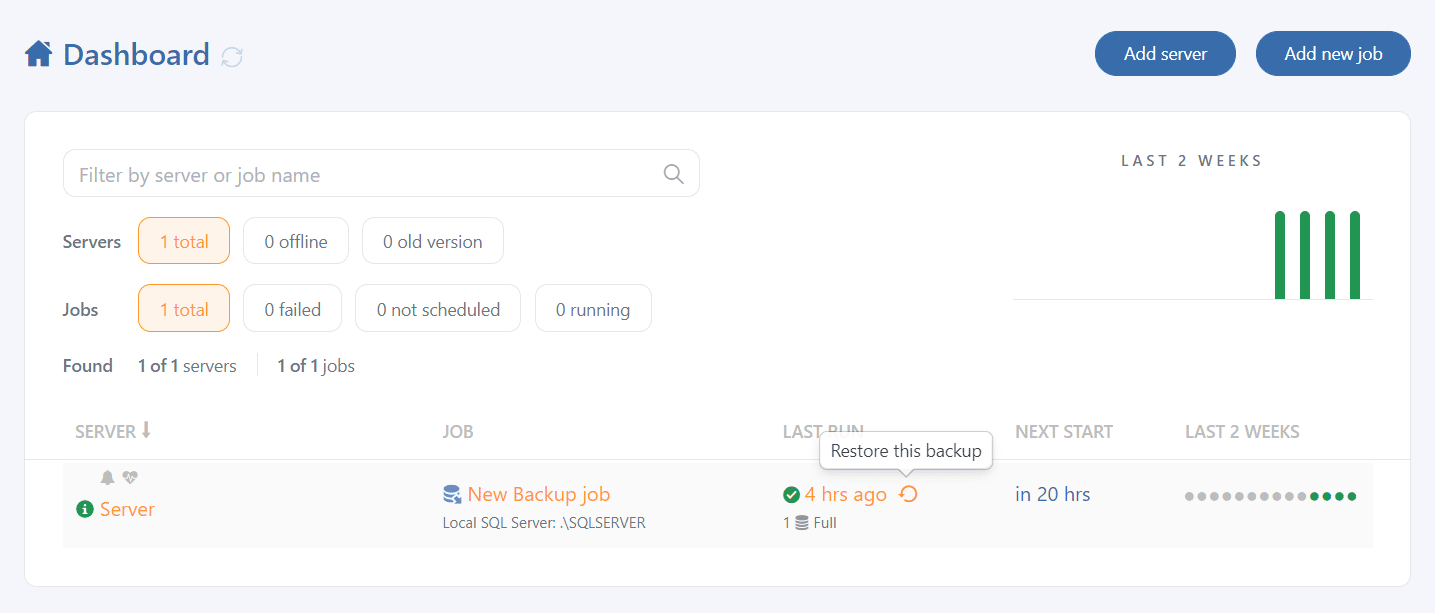
To restore SQL Server backup with the help of SqlBak, go to your SqlBak Dashboard page. If you need to restore your last backup and it does not matter for you will it be a full, a differential, or a transaction log backup, then simply click on the link at the “Last Run” column
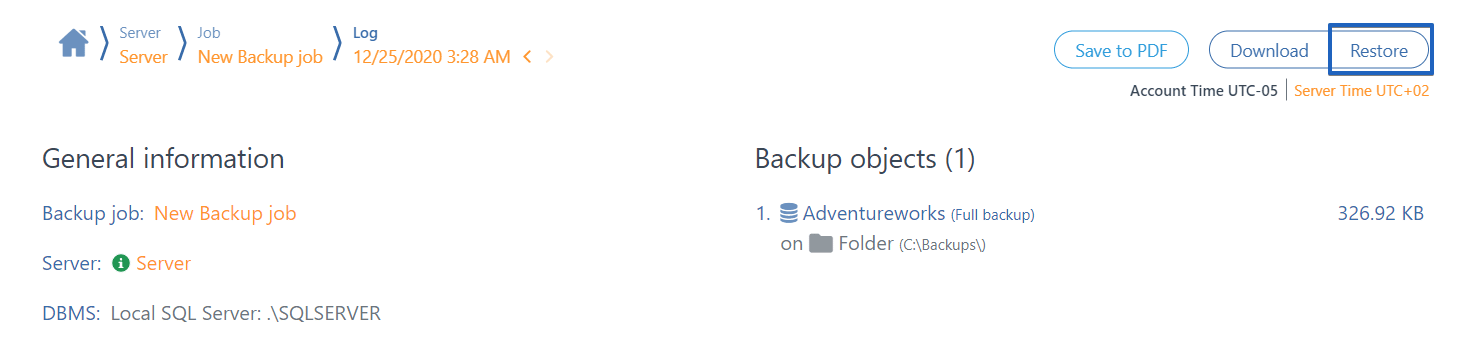
and press the “Restore” button on the next page.
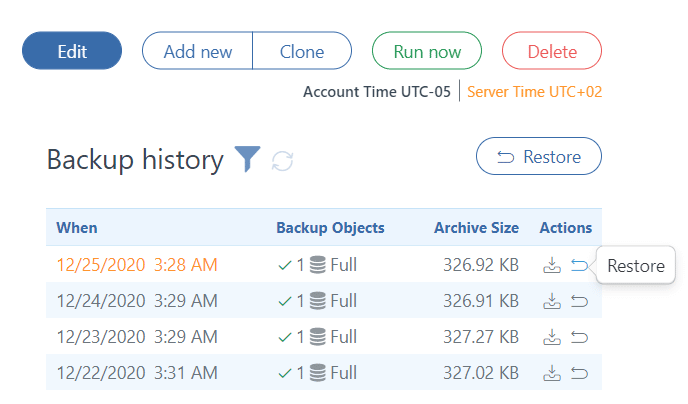
If you prefer to choose the backup that you want to restore, then click on your desired backup job. In the right part of the window, you can find the list of all your database backups. In order to restore SQL Server backup, select the one and then click the “Restore” button.
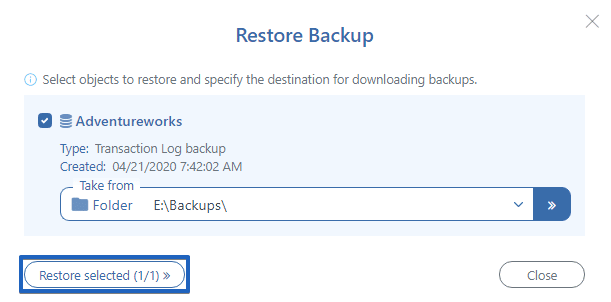
Check off the backup you need to restore and click on the “Restore selected” button.
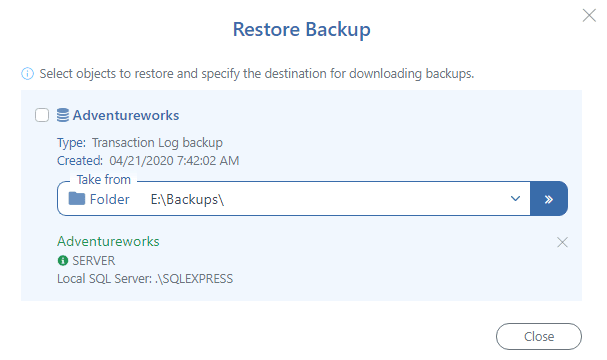
Check the server to which you are going to restore the backup, change your database’s name if it is needed, and click on the “Restore” button.

Once the restore SQL Server backup operation has been finished you will receive the following message:
Bottom line
As you can see, you can restore SQL Server backup in a few simple steps. Go to your “Dashboard” page, click on the link at the “Last Run” column and press the “Restore” button to restore your last database backup, or open your backup job and select the one that you need to restore and simply press “Restore”.