 There are many ways how to make SQL Server database backups, for example, you can perform backups with the help of T-SQL Commands or SSMS. Also, you can choose a destination where your SQL Server backups will be sent for storing, for example, Windows Azure. But how much time does it take to create a backup and then send it to Window Azure? With the help of SqlBak, you can perform a backup and then send it for storing to Windows Azure in a few minutes.
How to backup SQL Server to Windows Azure
You can create a backup job, which will make backups according to your schedule, and then send backups to Windows Azure, by following these simple steps:
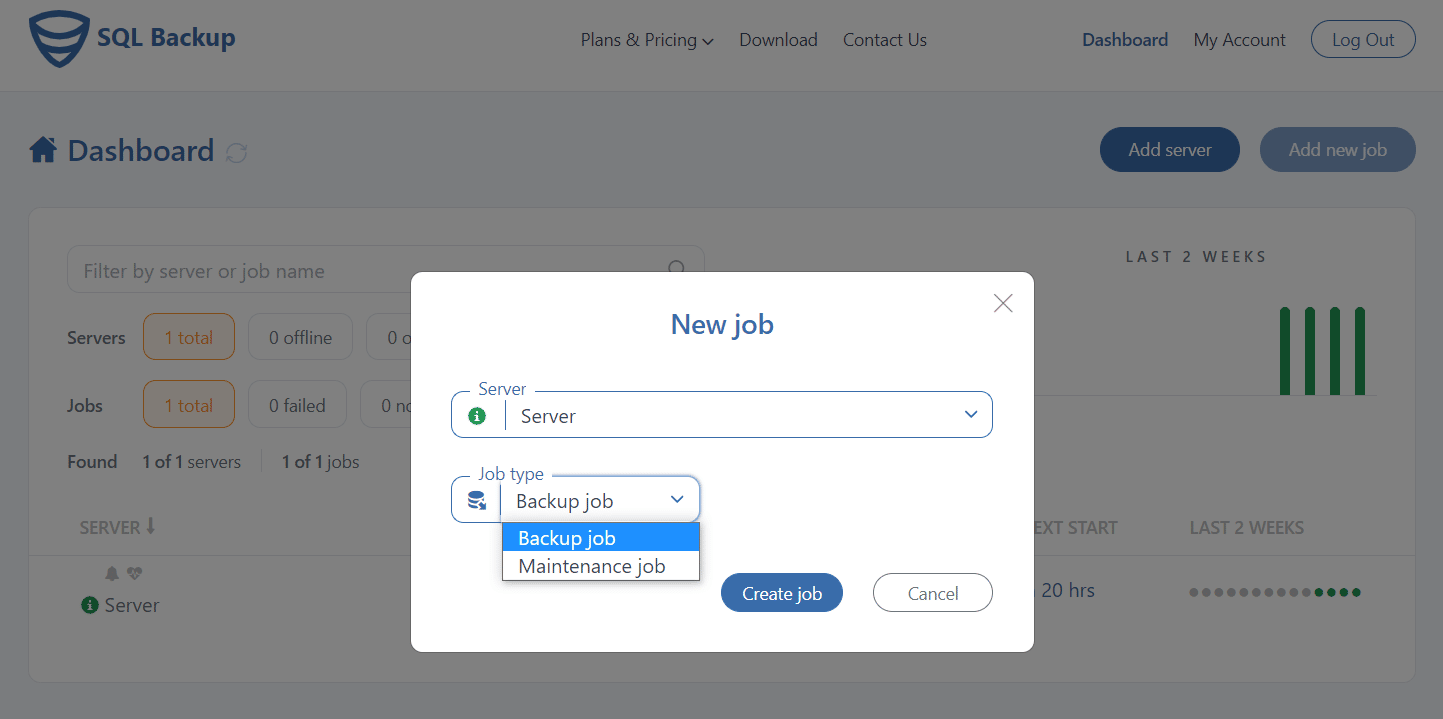
Go to the Dashboard page and click “Add new job”, at the popup window choose “Backup job” at the “Job type” section and click on the “Create job”.
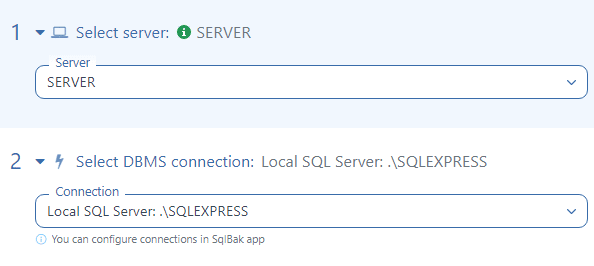
Select a server where SQL Server is installed and check for SQL Server connections.
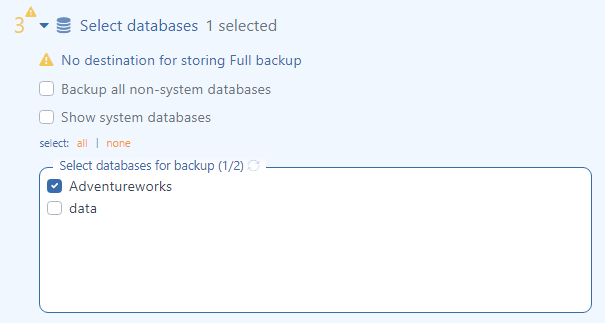
At the”Select databases” menu, check off all databases that you are going to backup.
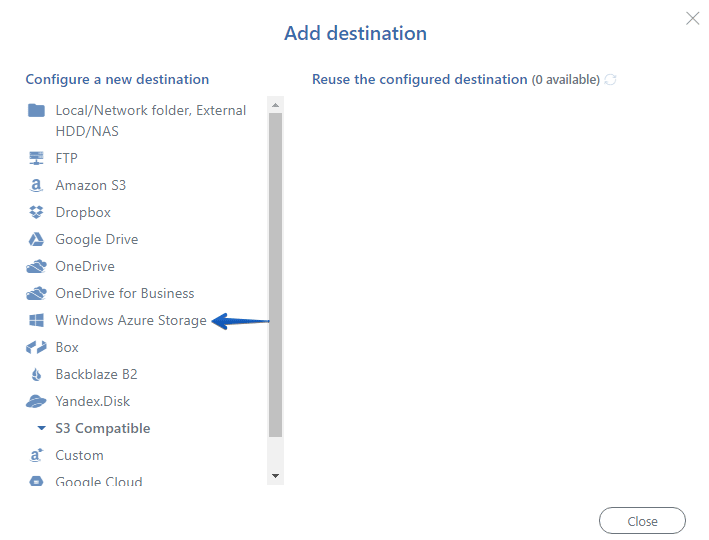
Choose the backup destination in the “Store backups in destinations” section by clicking the “Add destination…” button.

At the pop-up window select “Windows Azure Storage”.
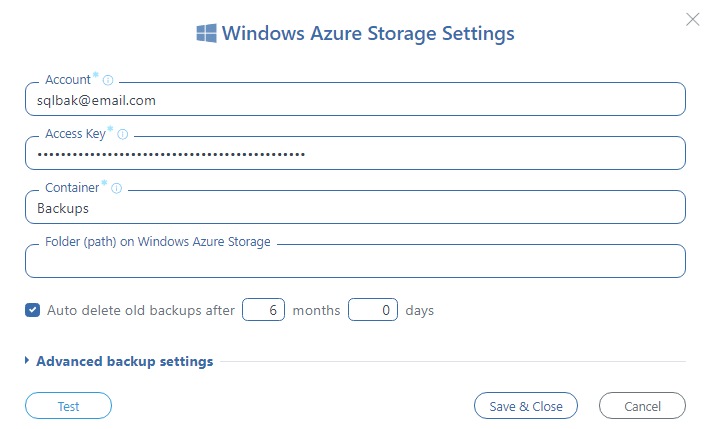
In the opened window specify your “Account”, “Access Key”, and “Container”, then press the “Test” button to check the connection to your account to save the settings click “Save & Close”.
To create a backup schedule click the “Schedule backups” section and press “Advanced settings…” then set up the schedule as needed.

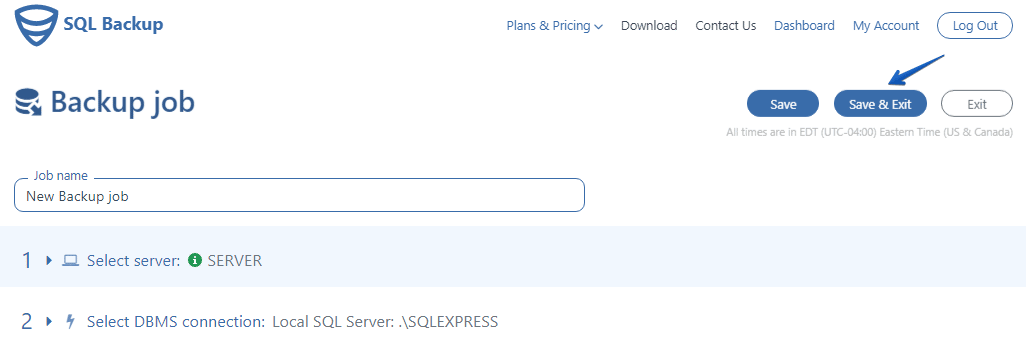
Press “Save & Exit” to apply all changes to start a backup job.
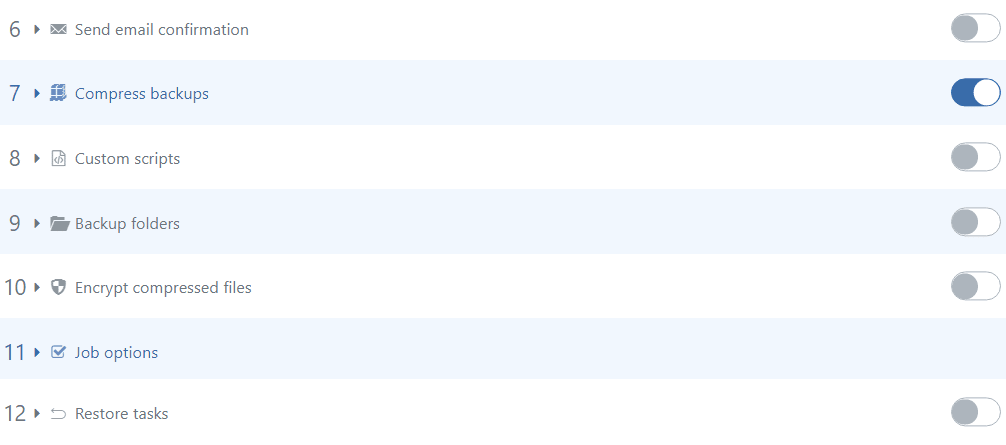
Now your backup job is ready, all backups will be made according to your schedule and then sent to Windows Azure. Also, you find more different settings like E-mail notifications in case of failure or success, Compression, and Encryption, you can add some local folders to backup or specify Custom scripts. And this is not the exhaustive list of benefits SqlBak offers.