Storing backups only on a local disk is not a good practice, because you risk losing them if the disk becomes corrupted. It is recommended, therefore, that you send backups to multiple destinations to always be able to restore your databases. In this blog post, we will show how to create regular SQL Server backups and automatically send some of them to a local folder and some to the cloud (Azure Storage, for example) via SqlBak.
Create a Backup Job
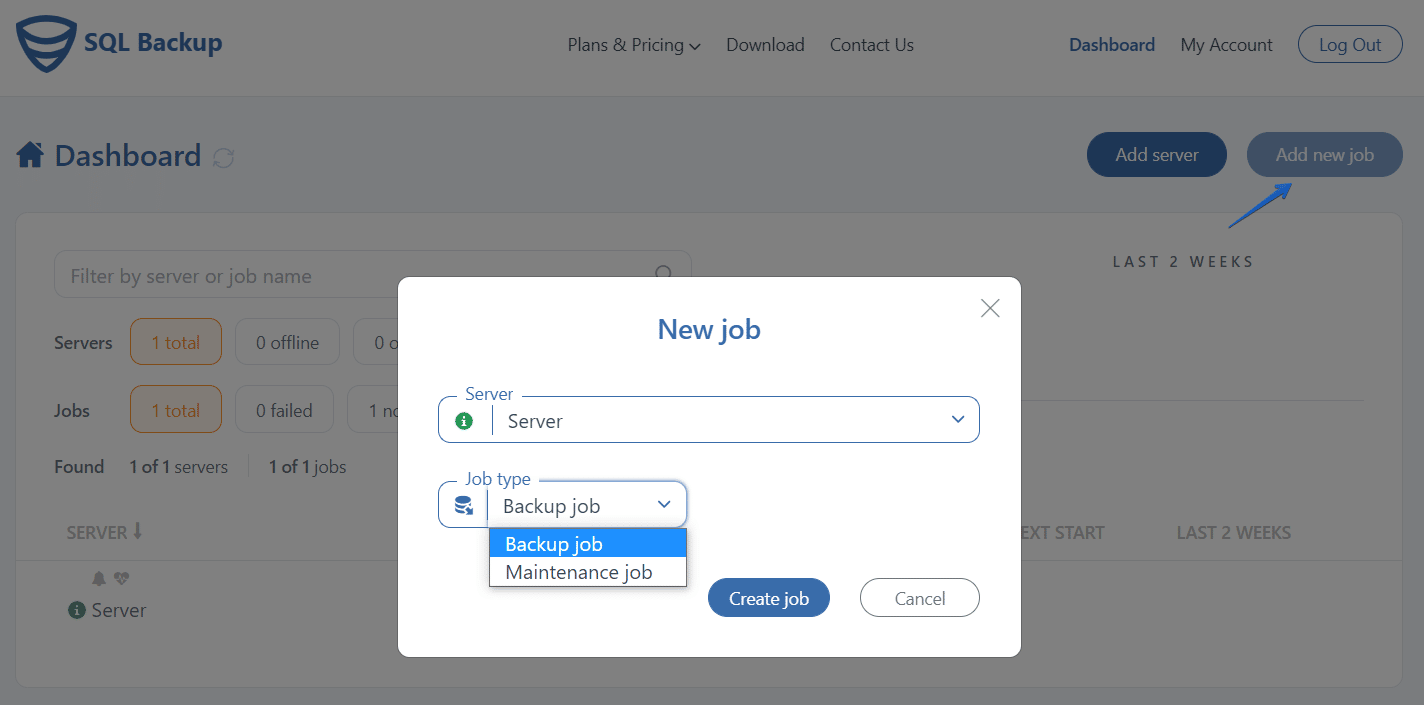
Once you install SqlBak and set the connection to your SQL Server go to the Dashboard page and create a new backup job.
Choose databases
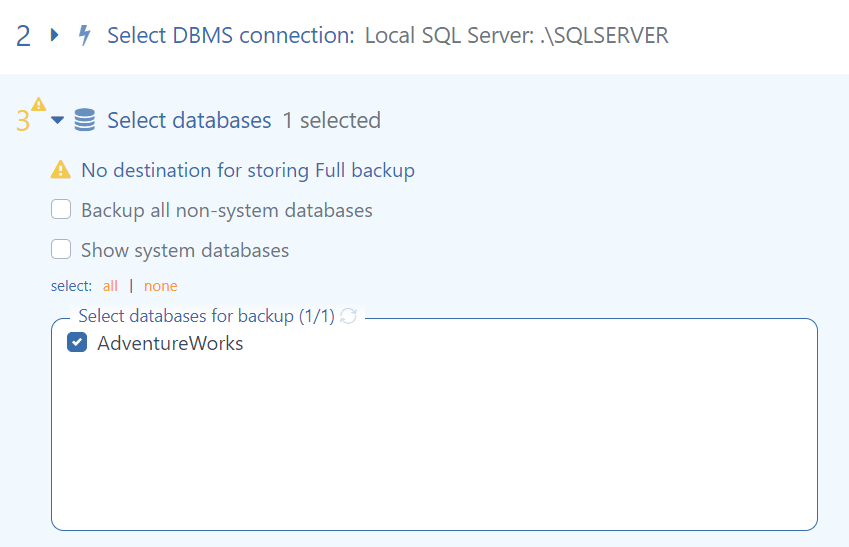
At the backup job settings page go to the “Select databases” section and choose the databases that should be backed up.
Set Destinations
Now it is time to set destinations where the backups should be sent. Assume your backup plan is: daily full backups, which should be sent to your local folder and Azure Storage, and hourly transaction log backups that should be sent only to your local drive.
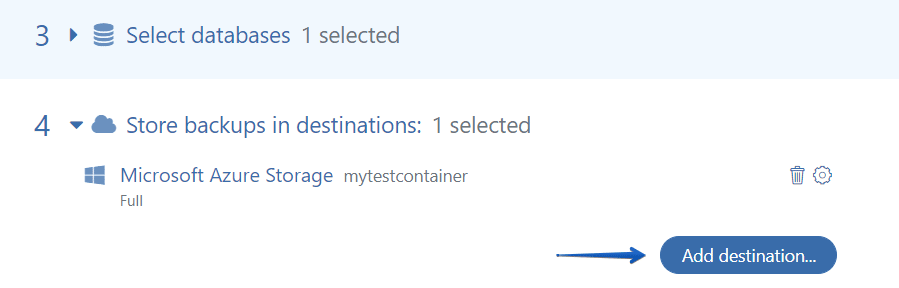
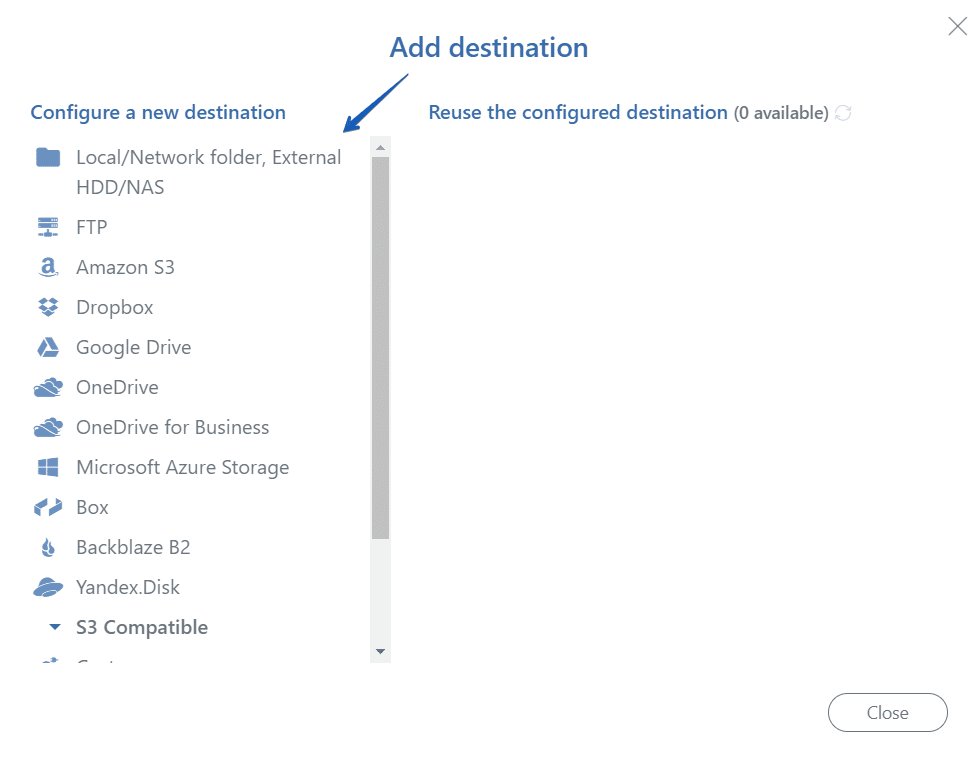
To implement these settings go to the “Store backups in destinations” section and click on the “Add destinations” button.

Microsoft Azure Storage
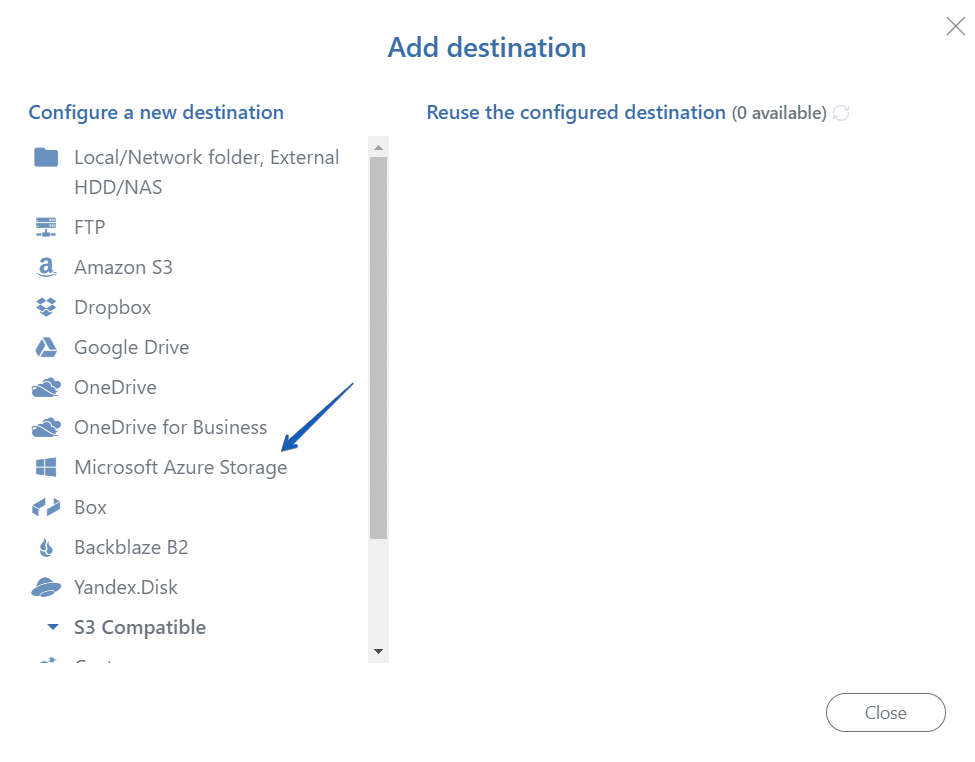
At the opened window choose “Microsoft Azure Storage” from the list.
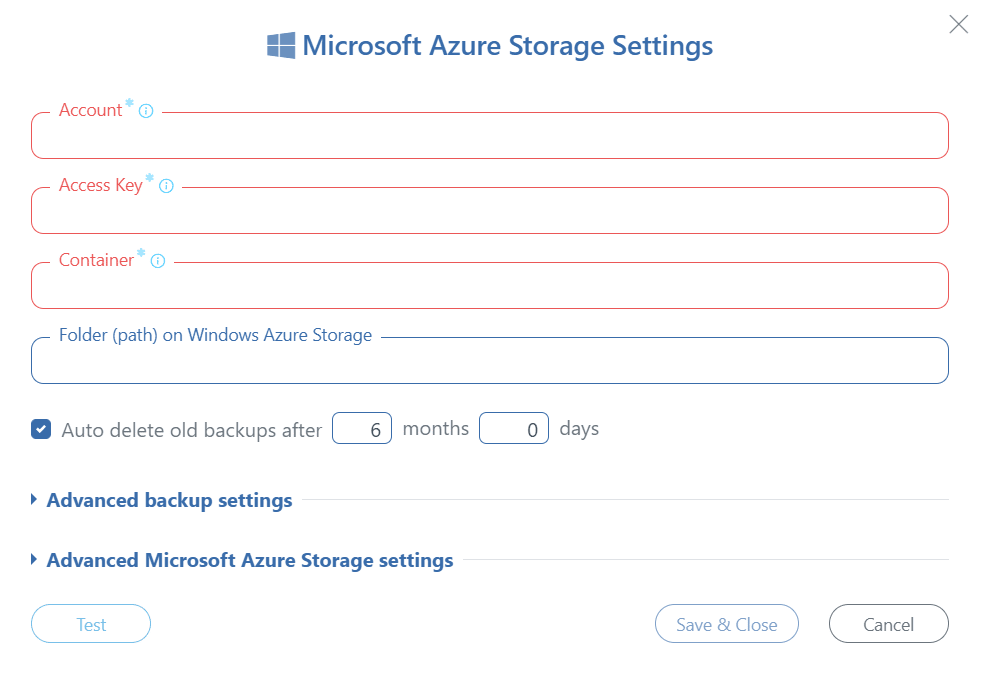
and specify your account, access key, and container.
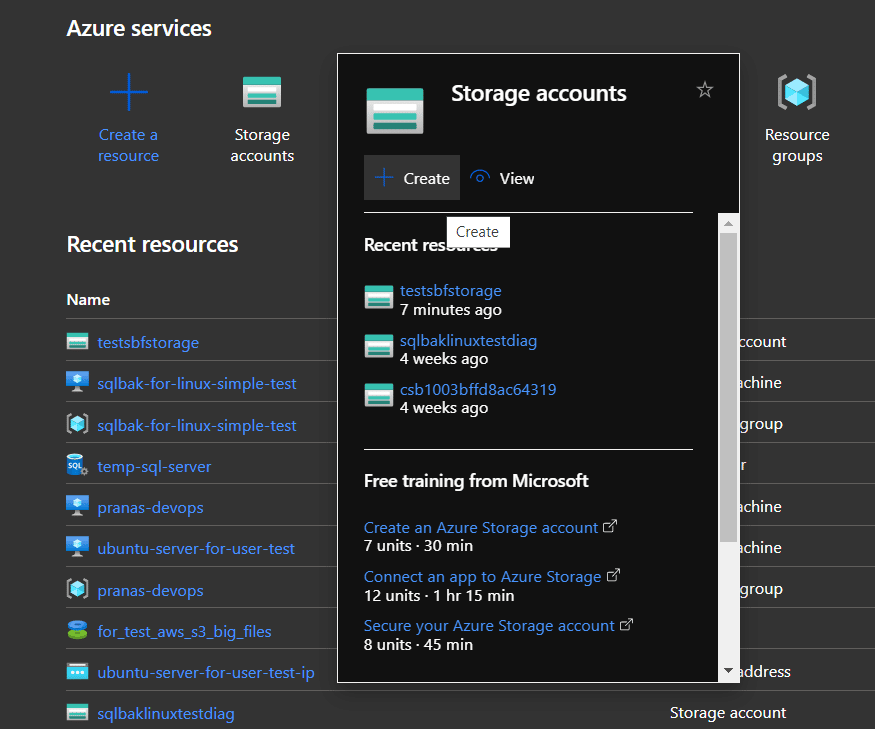
All this information can be found on your “Microsoft Azure Dashboard” page.
Choose a storage account you prefer to use to store the backups. You can select the one from the “Recent resources” list or create a new one by clicking the “Create” link as shown in the screenshot:
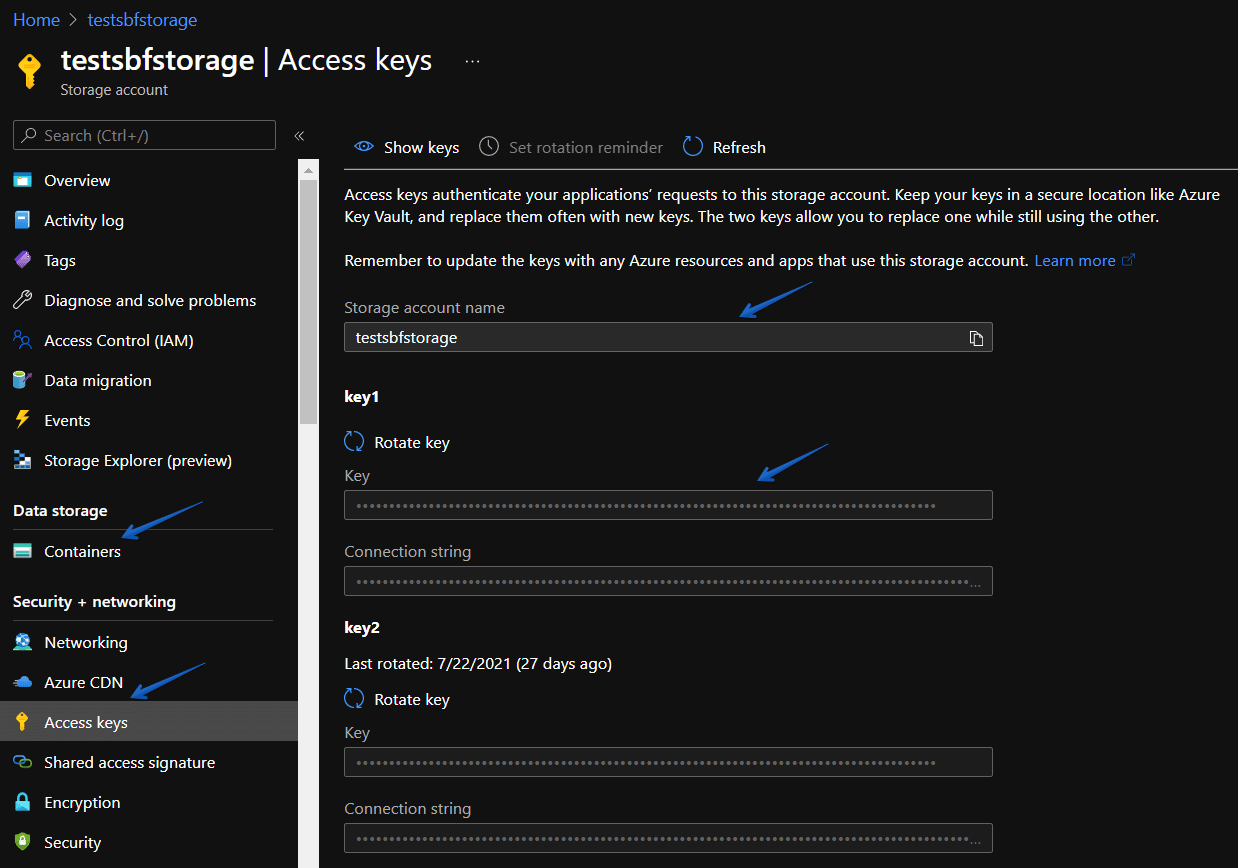
At your storage account settings page go to the “Access key” setting to find the account name and access key. You can specify any name for your container and it will be created automatically. All the available containers can be found in the “Containers” setting. Note, the container’s name should be written in lower-case letters.
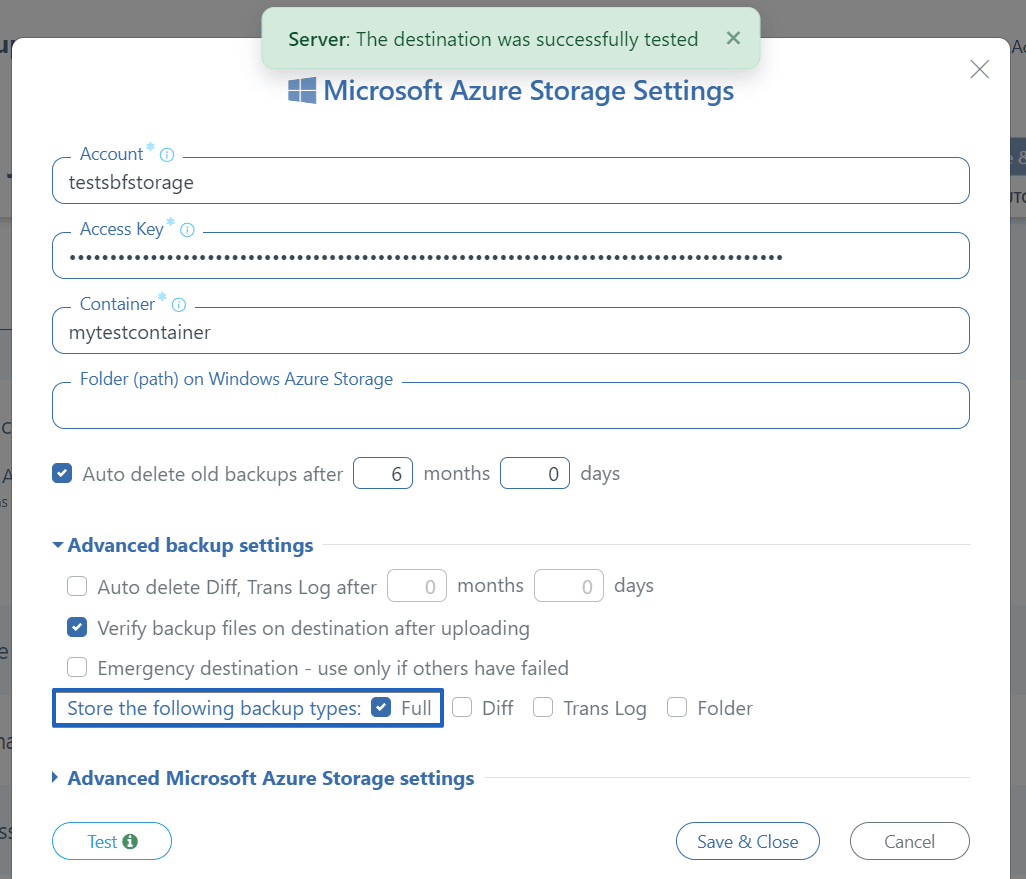
Go to your SqlBak backup job settings page and fill up the appropriate boxes in the opened “Microsoft Azure Storage Settings” window.
To store only full backups in your Azure Storage, click on the “Advanced backup settings” and check “Full” at the “Store the following backup types” section.
Once all the information is specified, click on the “Test” button to test the connection. If the test passed, click on the “Save & Close” button to save the settings.
Local Folder
Now let’s add your local folder as a destination for your full and transaction log backups. To do this, press the “Add destinations” button at the “Store backups in destinations” section
and in the opened window choose “Local/Network folder, External HDD/NAS.”
All you need to do is specify a folder to which the backups will be sent at the “Path” box such as C:\Backups. To choose the types of backups that should be stored click on the “Advanced backup settings” and check off “Full” and “Trans Log” at the “Store the following backup types” section. Click the “Test” button to ensure the connection is established and press the “Save & Close” button to save the settings.
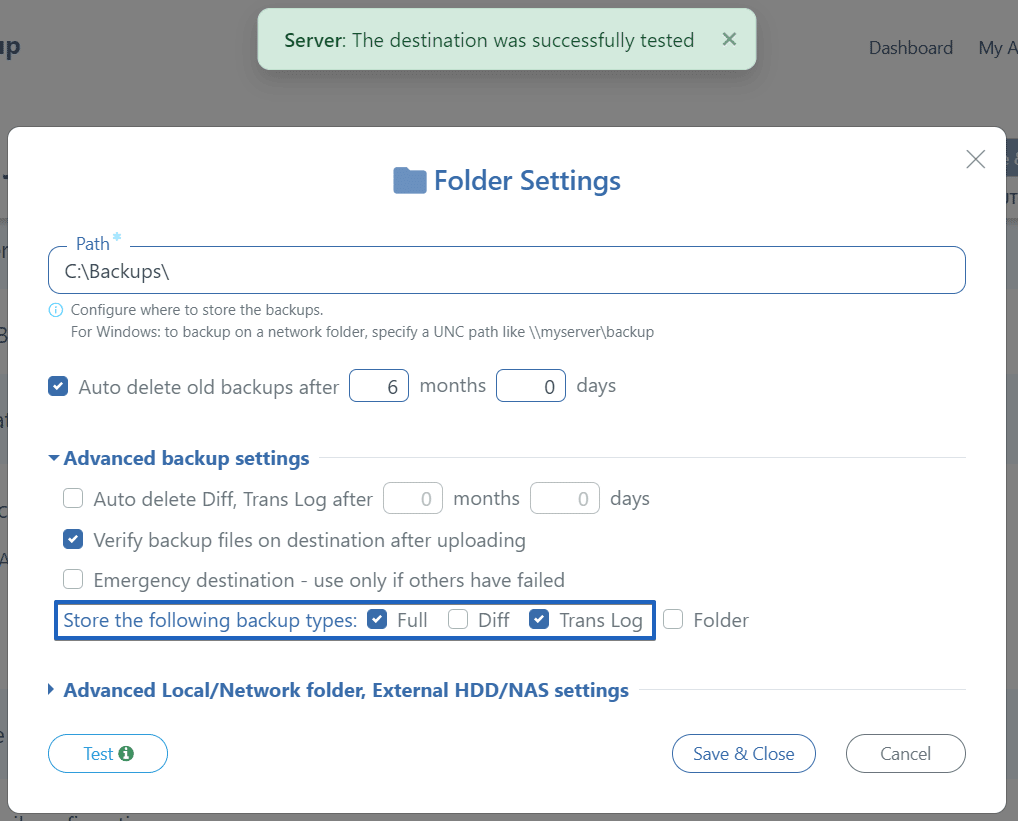
With these settings, your full backups will be sent to both your local folder and the Azure Storage container, and transaction log backups will be stored only in your local folder.
Backup Schedule
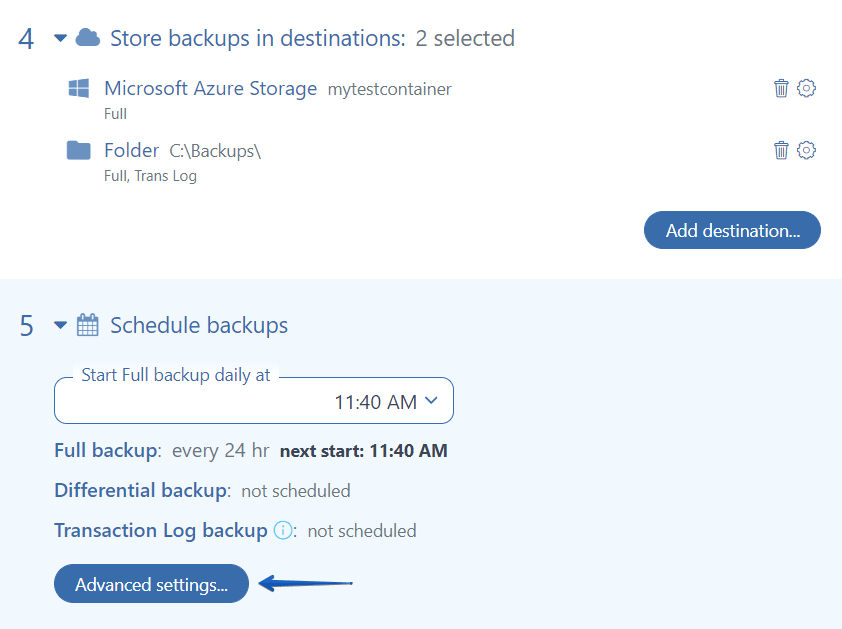
The next equally important setting is tuning a schedule for your backups. Scroll down to the “Schedule backups” section, and enable it. By default, the schedule will be set to run only full backups once a day. To add transaction log backup to your backup plan go to the “Advanced settings.”
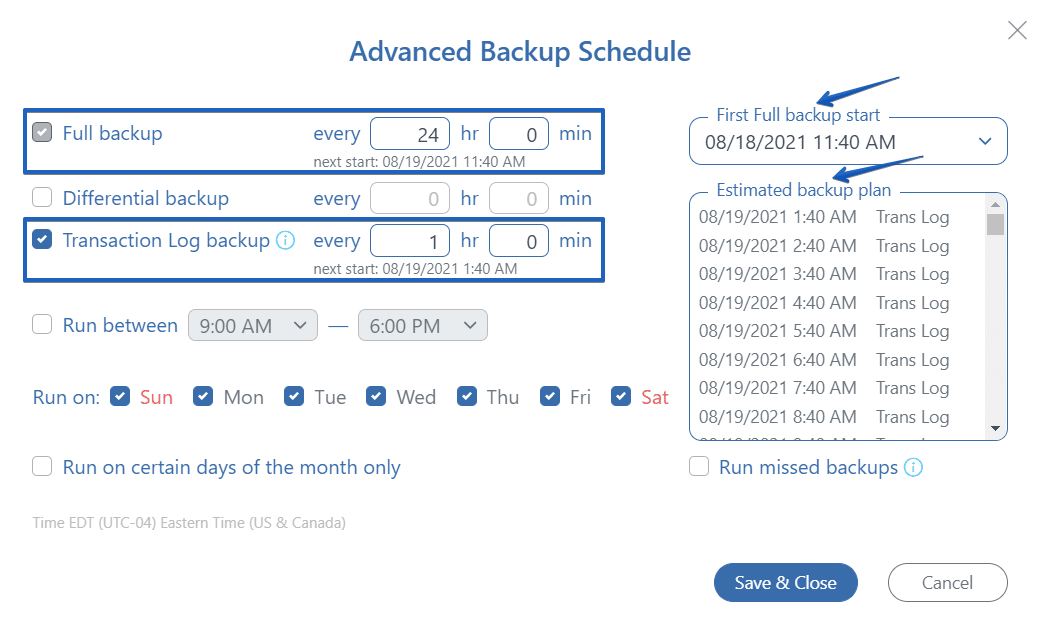
At the opened window check off “Transaction Log backups” and specify the frequency with which to run them. Also, set a time when the very first full backup should be run at the “First Full backup start” box. The estimated backup plan can be checked in the appropriate section. Once the settings are made save them by clicking the “Save & Close” button.
Email Notifications
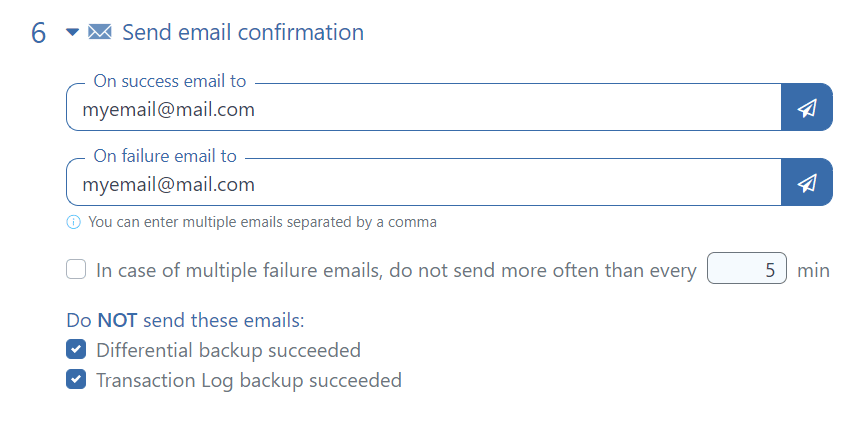
To receive the email notifications if your backup job was completed successfully or failed, enable the “Send email confirmation” option and add your email address into the appropriate boxes. Note, you can specify multiply emails separated by a comma.
 Save the Settings and Test the Job
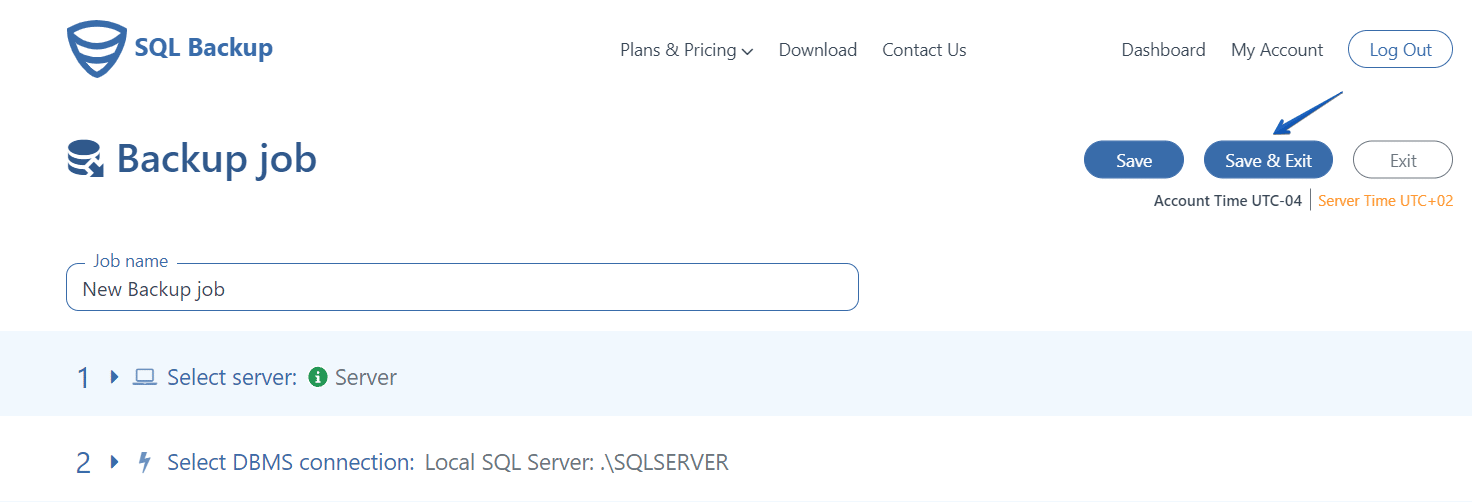
That’s it! Those were the main setting that should be set. By scrolling down you can find the additional settings like compression and encryption, add custom scripts before or after backups, add some local folders to your backup plan and set the automatic restore to another server. Note, if you add some local folders to your backup plan, do not forget to allow storing the folders in your backup destinations settings. Once the settings are made, click on the “Save & Exit” button at the right upper corner of your backup job settings page.
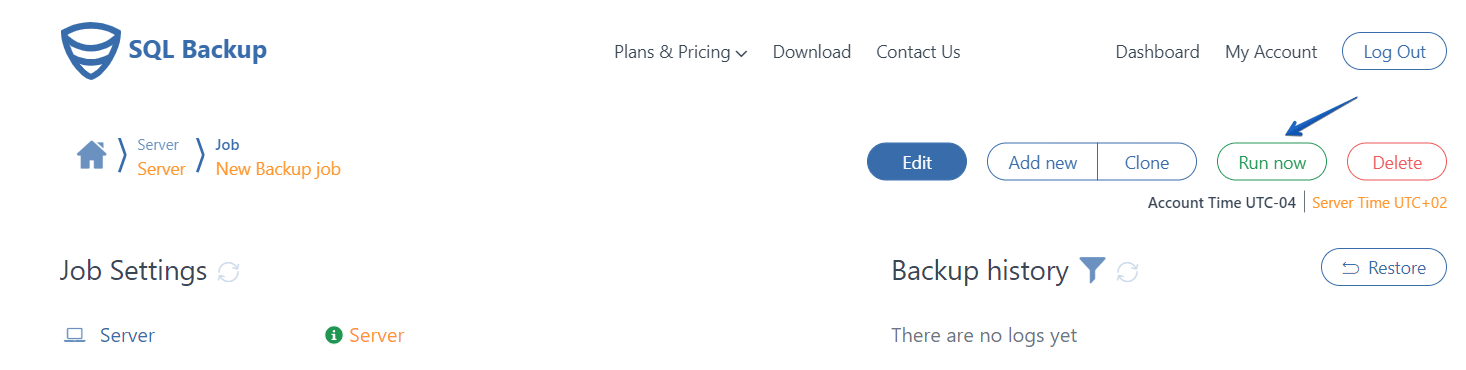
Now your backups will be performed according to the schedule and stored in the selected destination. But before closing the window it is recommended that you test the execution of the job to ensure that everything works smoothly by pressing the “Run Now” button.
The job will start to be executed. Upon its completion, you will see a brief description, job status, destinations where the backups were sent and a detailed log.

Now you can close the sqlbak.com website and be sure that the backups will be performed. You’ll receive a notification if a backup job execution was successful or failed. All your backup jobs will be available on your “Dashboard” page.