Backing up your Azure SQL databases and restoring them to a local SQL Server can be a crucial part of your disaster recovery strategy or testing process. In this guide, we’ll walk you through each step required to back up your Azure SQL databases and restore them locally using SQL Server Management Studio (SSMS).
Step 1: Export Azure SQL database to a BACPAC File
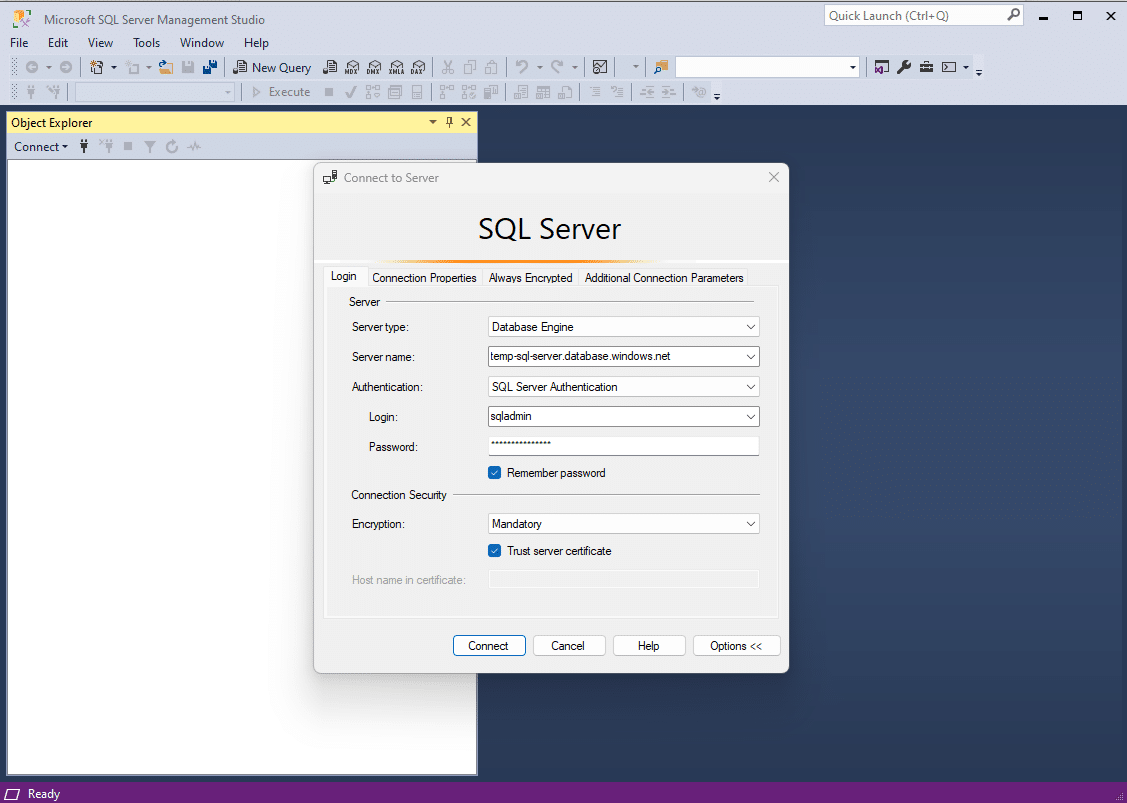
1. Open SQL Server Management Studio (SSMS) and connect to your Azure SQL Database
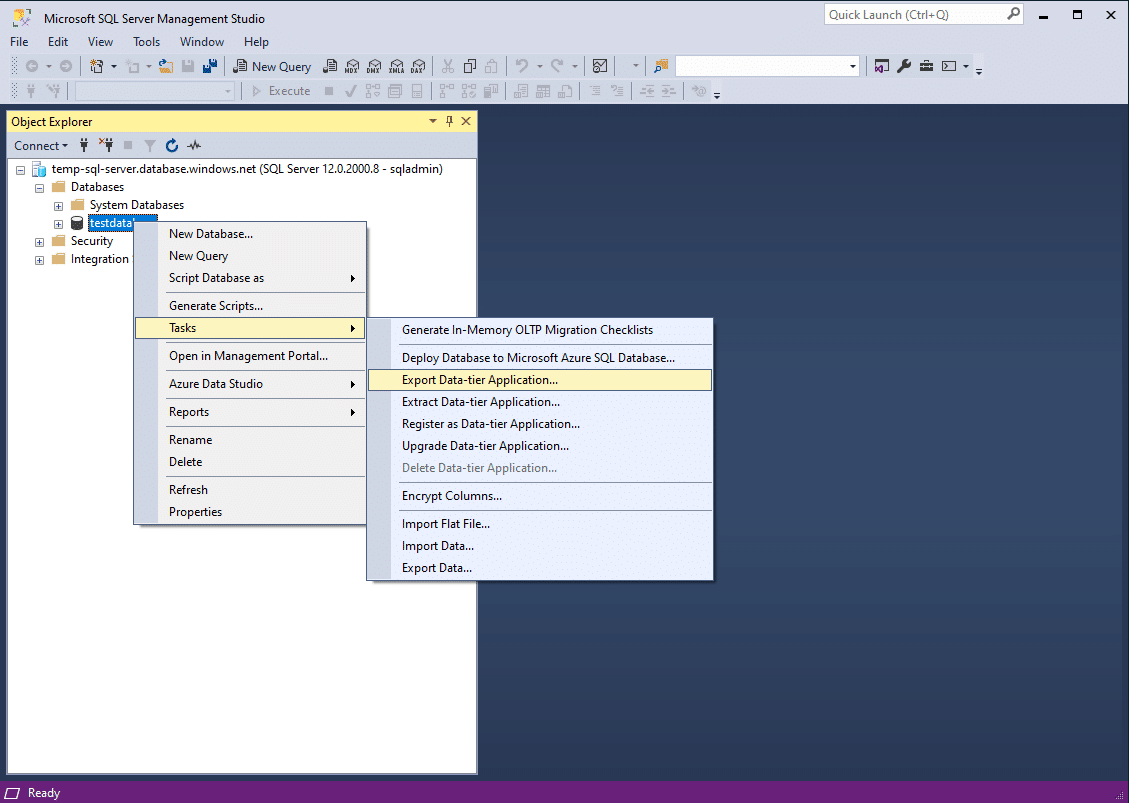
2. In the Object Explorer window, expand your connected Azure SQL Server instance. Right-click on the database you want to back up, hover over Tasks and select Export Data-tier Application.
3. In the Export wizard, click Next to begin
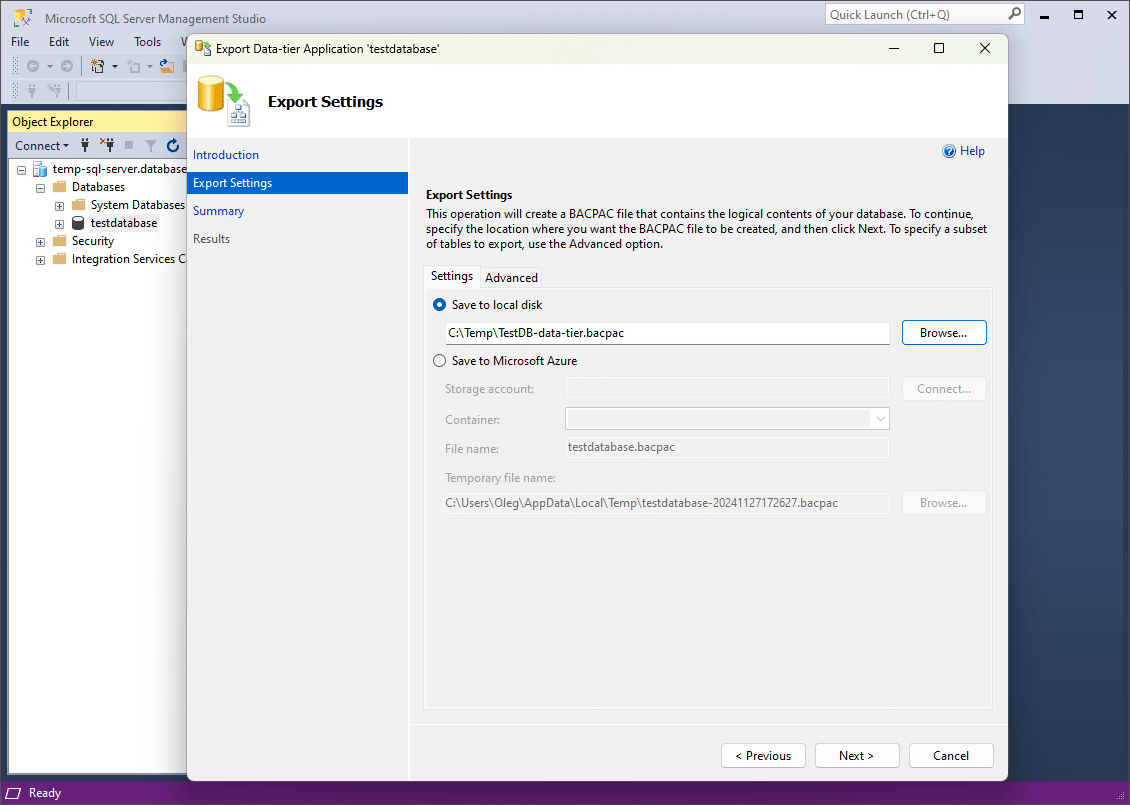
4. Export Settings:
- Choose Save to Windows Azure or Save to local disk
- If saving to Azure, provide your storage account details and specify a container
- If saving locally, specify a folder path to store the
.bacpacfile on your machine
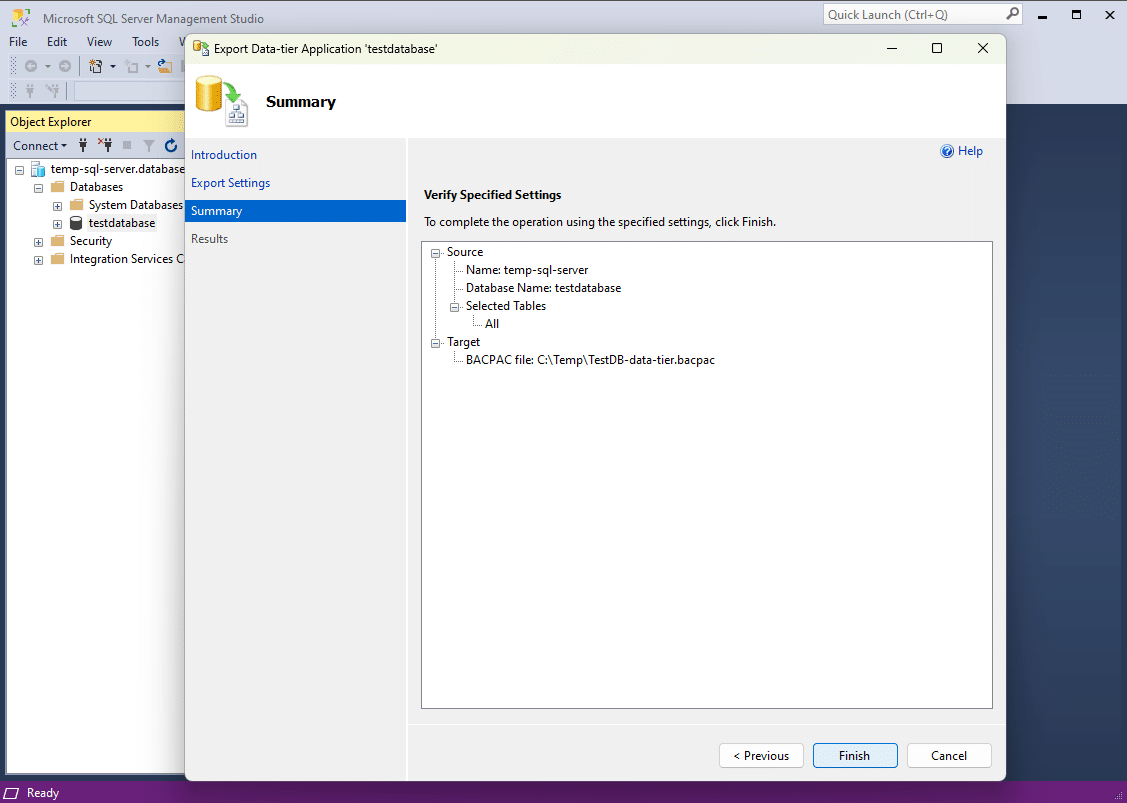
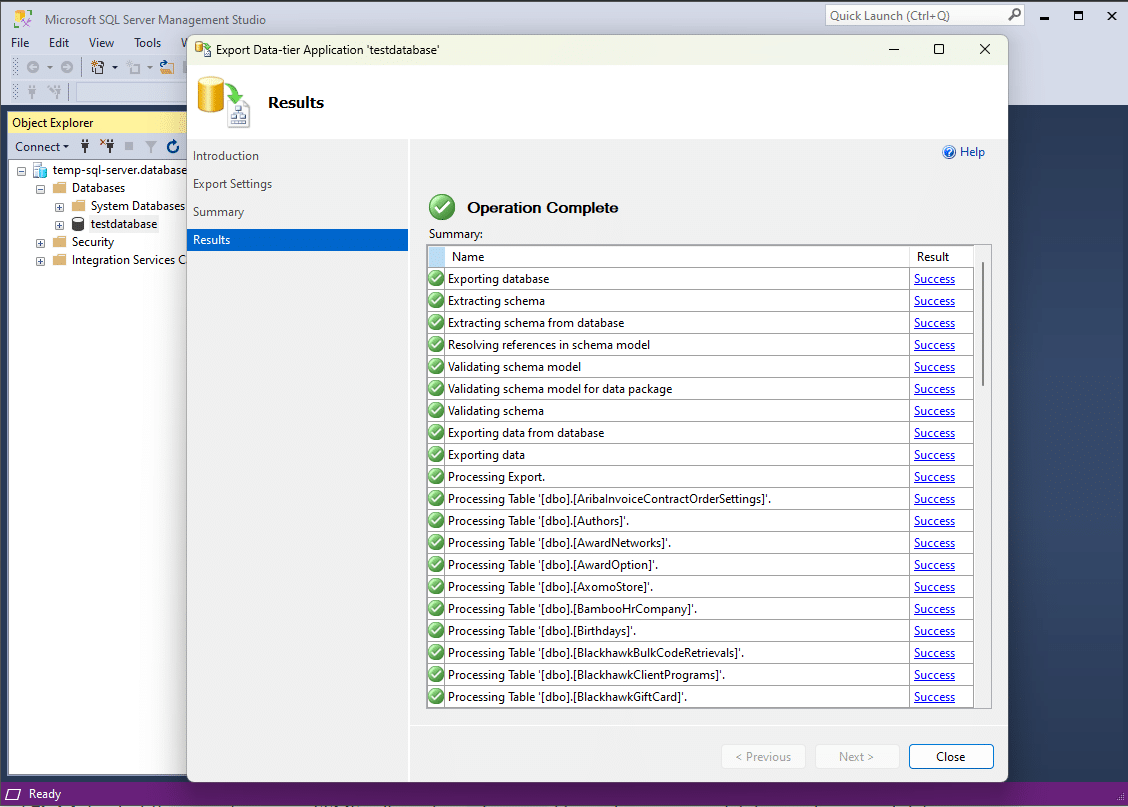
5. Click Next and Finish to start the export process. SSMS will create a .bacpac file containing your database schema and data.
6. Results of the export Data-tier operation:
Step 2: Import the BACPAC File to your local SQL server
1. Once the .bacpac file is saved, connect to your local SQL Server instance in SSMS
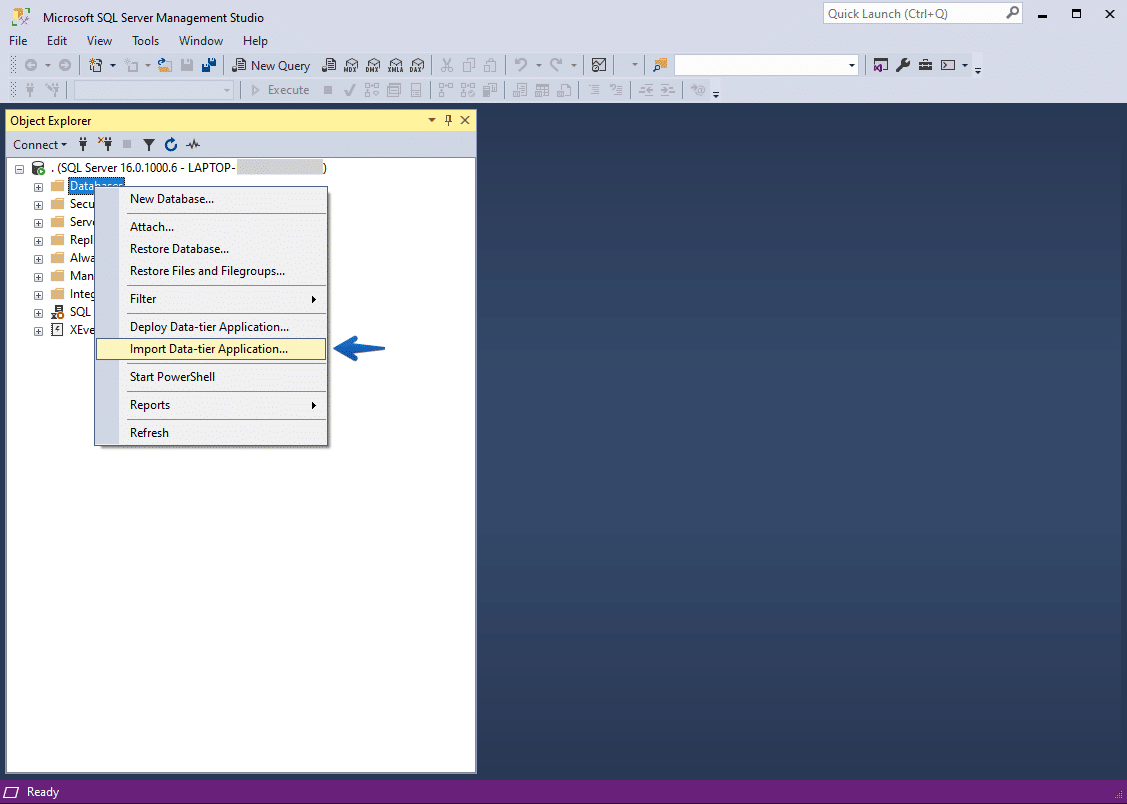
2. In the Object Explorer window, right-click on Databases, and select Import Data-tier Application:
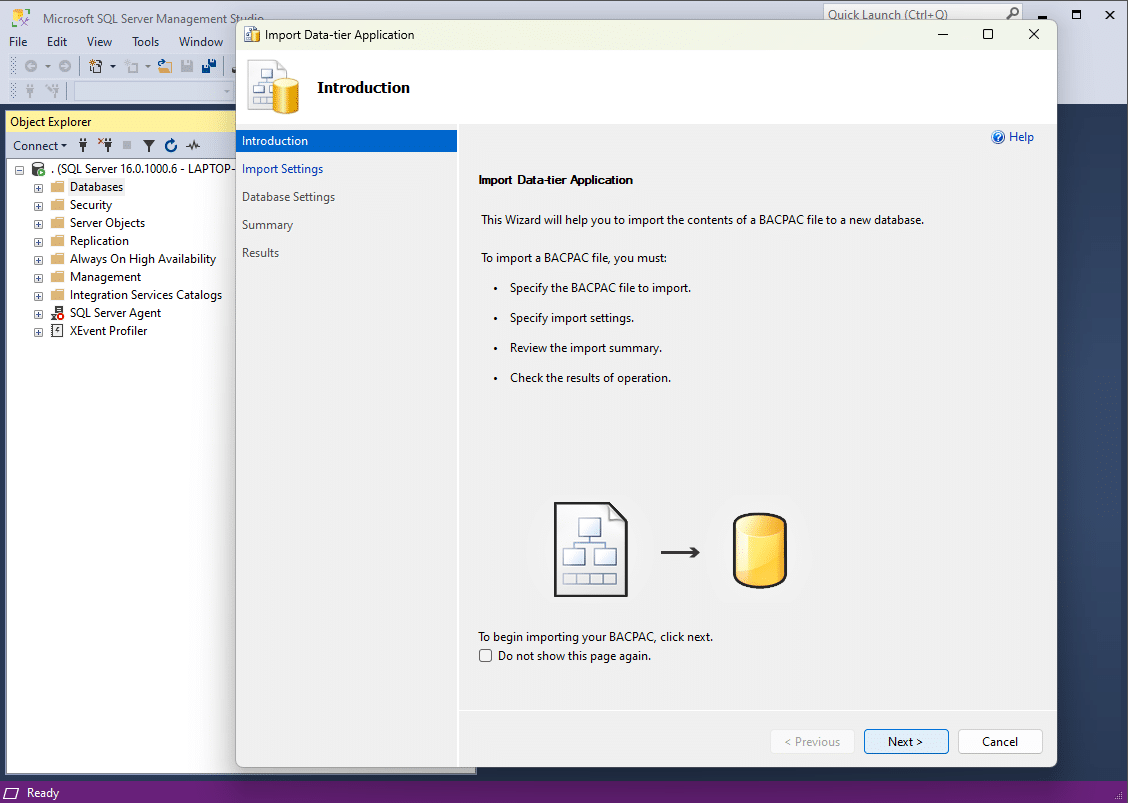
3. In the Import wizard, click Next:
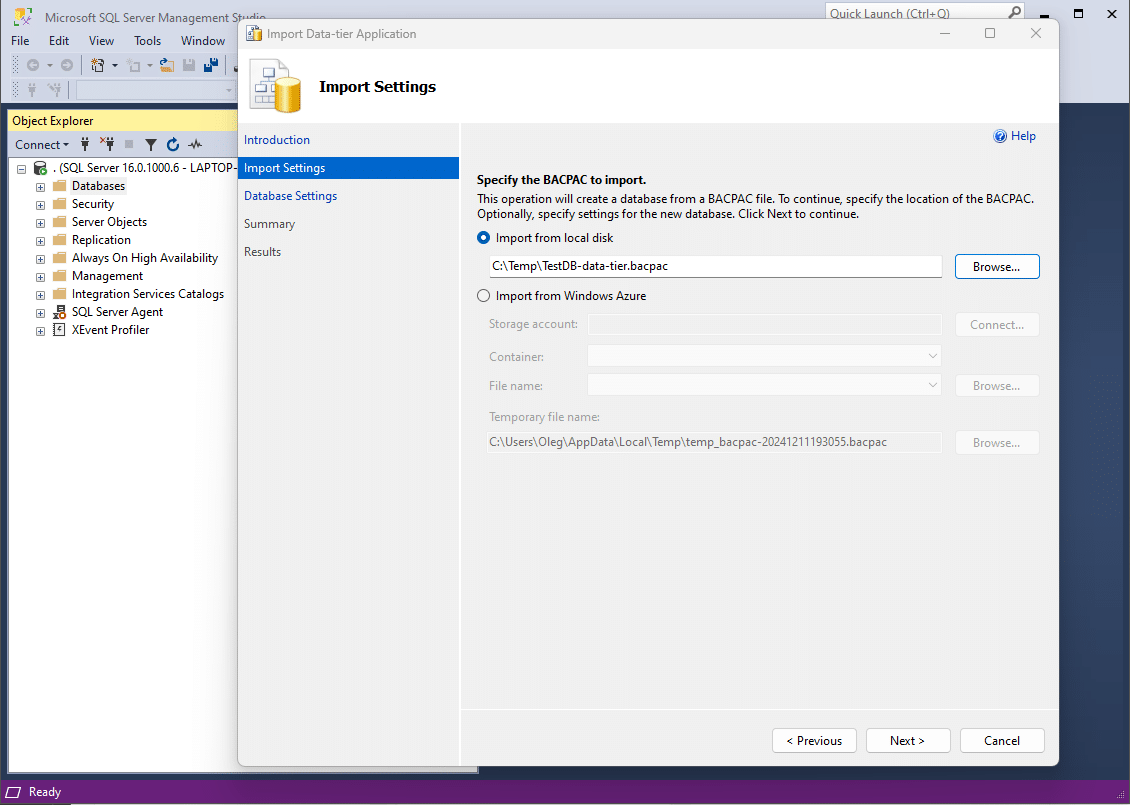
4. Select the BACPAC File. Choose Import from local disk and locate the .bacpac file created in Step 1.
5. Database Settings:
- Name your database (or choose an existing one to overwrite)
- Configure additional settings as necessary
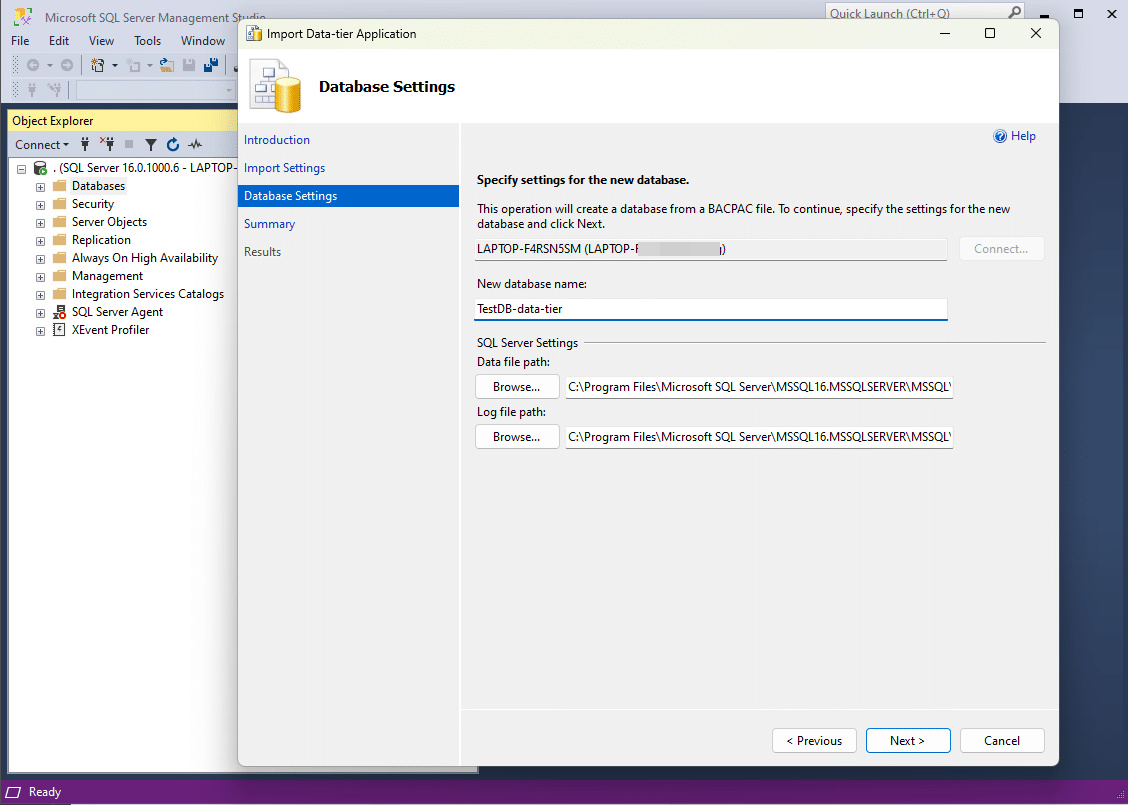
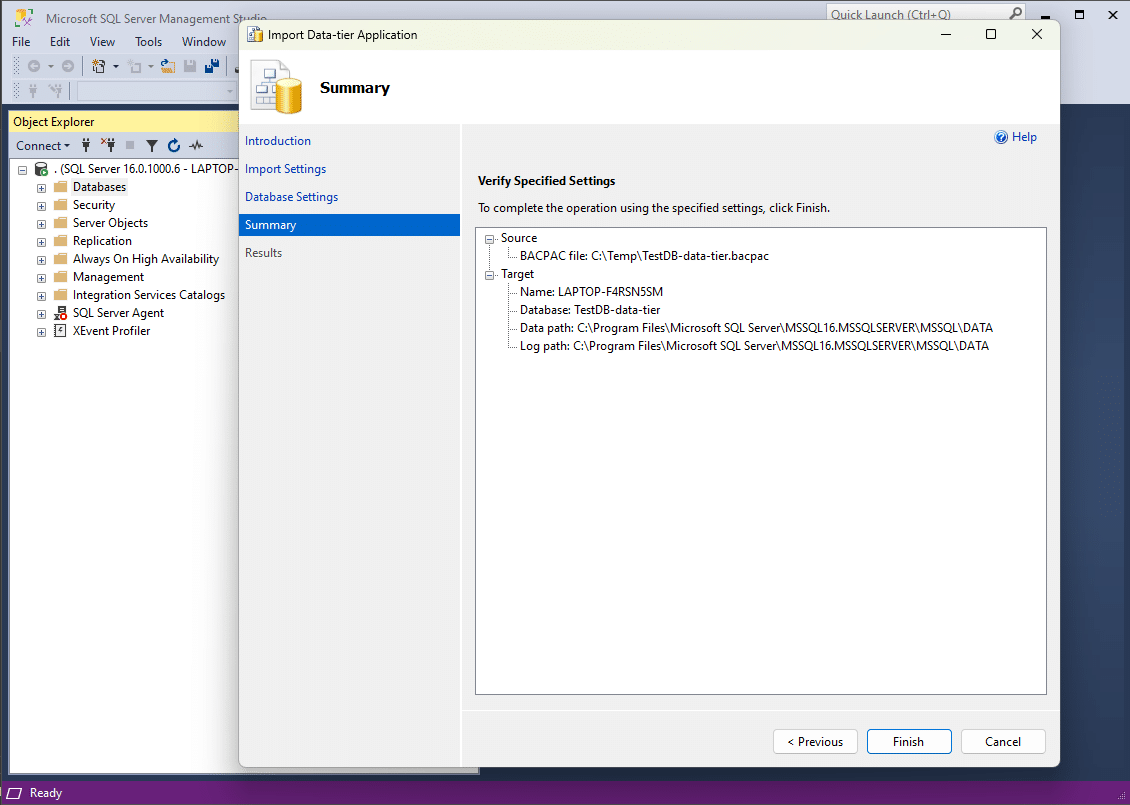
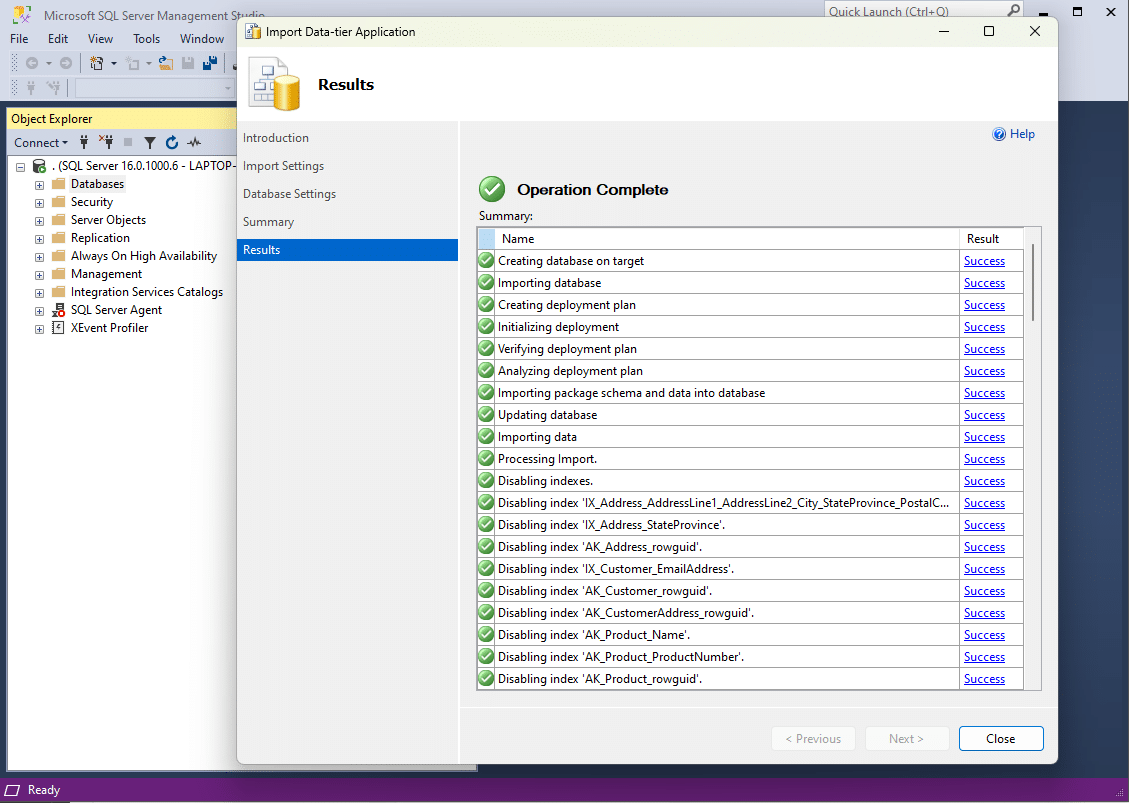
6. Click Next and Finish to begin the import process. SSMS will create a new database on your local SQL Server with the data from the Azure SQL database:
Step 3: Verify the imported database
- In SSMS, expand the Databases node in your local SQL Server instance to view the imported database
- Run a few test queries to ensure that the data and schema were imported correctly
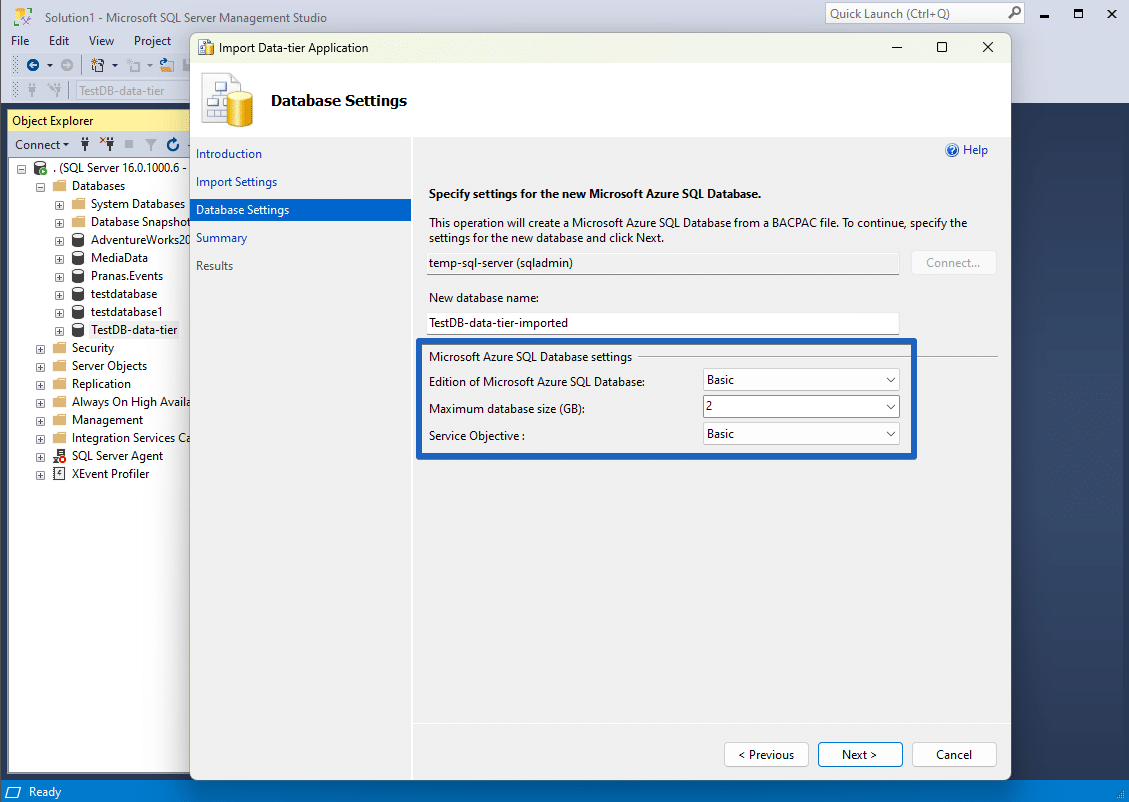
Exporting back to Azure SQL database
To export a database back to Azure SQL, follow similar steps. However, pay close attention to the settings during the export process, as Azure databases default (“Standard”) to a high-cost service tier (e.g., $300/month). Adjust these settings to match your needs before completing the process.
Using SqlPackage for Export and Import
An alternative to SSMS is SqlPackage, a command-line utility for migrating data. You can download SqlPackage for Windows or Linux here.
Export from Azure SQL server command:
Import to local SQL server command:
Using SSMS or SqlPackage to backup and restore your Azure SQL database locally provides an efficient way to protect your data and test locally. With just a few steps, you can secure your data for backup and recovery or migrate it for testing and development purposes.
Explore more about SqlBak, a powerful tool designed to automate database backups, by visiting the official website:
👉 SqlBak.com