 SQL Server has such a thing as transaction log tail backup. In this article, we will figure out what it is, why it is needed, and how to do it.
What is a Transaction Log?
The transaction log is a database file in which all SQL Server transactions are recorded before being applied to the main file.
The DBMS uses this file for:
- Performing a rollback operation
- Automatic restore of the DBMS in case of failure
- Data replication (log shipping, always on, mirroring)
The database administrator can use the transaction log for:
- Incremental backup
- Point-in-time-recovery
Please note that the data in the transaction log is stored in a binary format that is not human-readable. It is impossible to read exactly which operations were performed in the database by analyzing this file.
What Does it Mean to Backup a Transaction Log?
If the recovery model for the database is set to FULL or Bulk-Logged, then transactions are constantly appended to the transaction log.
Transaction log backup is a backup of data that has changed since the previous log backup (or full backup). At the same time, the data that were backed up is marked as deleted and SQL Server can overwrite it. Thus, the transaction log does not grow indefinitely.
While the database is running, new transactions constantly appear in the transaction log. It is crucial to backup the transaction log regularly so that it does not grow endlessly.
What Does it Mean to Backup the Tail of a Transaction Log?
A backup of the “tail” of the transaction log is the execution of the last transaction log backup + disconnection of the database. This ensures that ALL transactions have been committed in the last backup before shutting down the database.
As a rule, a tail backup is needed before deleting or overwriting a database or when transferring a database from one server to another.
It is much better if users receive an “error” that the database is not accessible than if their transaction simply disappears into oblivion.
How to Backup the Tail of the Transaction Log with SSMS
This is a step-by-step tutorial on how to backup the Tail of the Transaction Log using the graphical interface of SSMS.
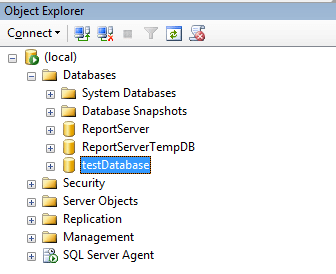
- The first step would be to connect to the appropriate instance of SQL Server Database Engine and then in the Object Explorer window, you have to double-click the server name which will expand the server tree.
- The next step would be to expand the Databases folder and then you can either choose a User Database or a System Database.
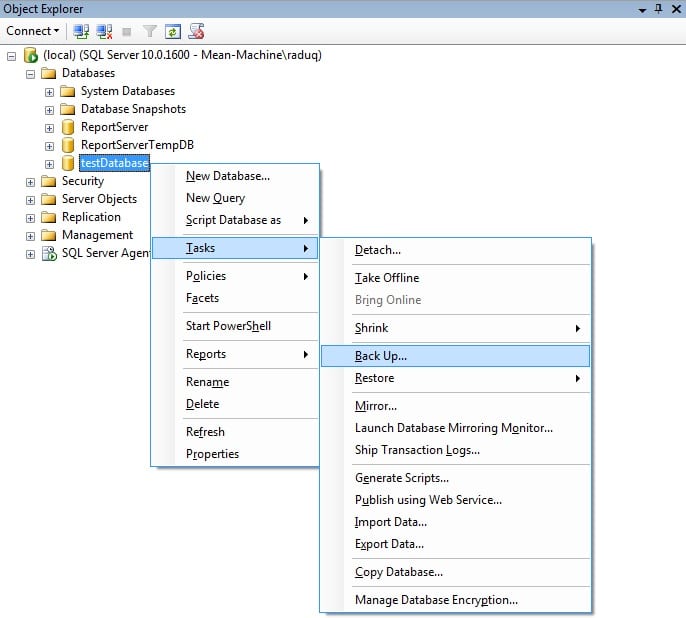
- The next step would be to right-click the database you want the backup to be made for and select Tasks and then click Back Up.
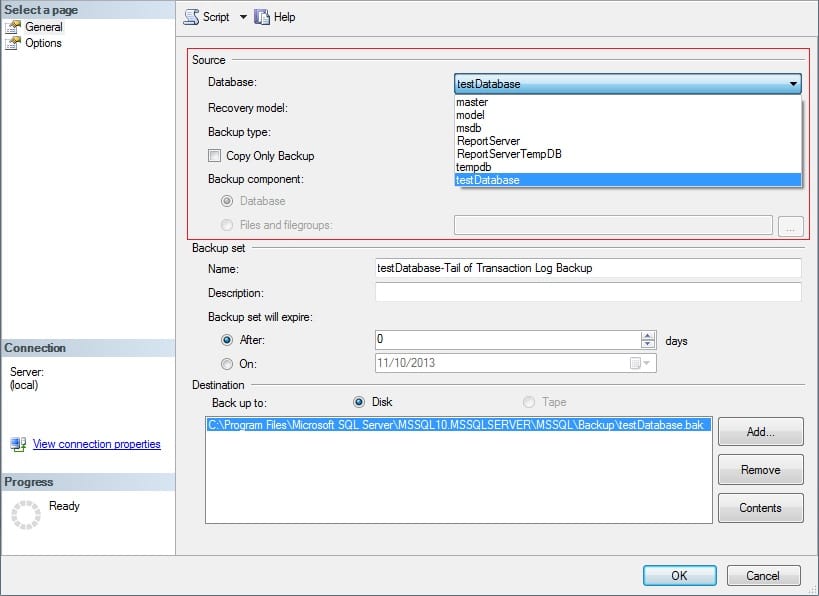
- In the Back Up Database dialog that appears, please make sure that in the Database list box the database you want to back up is selected. At this point, you can opt to select a different database for which you will do the tail backup.
- Verify that the selected recovery model is selected is FULL or BULK_LOGGED.
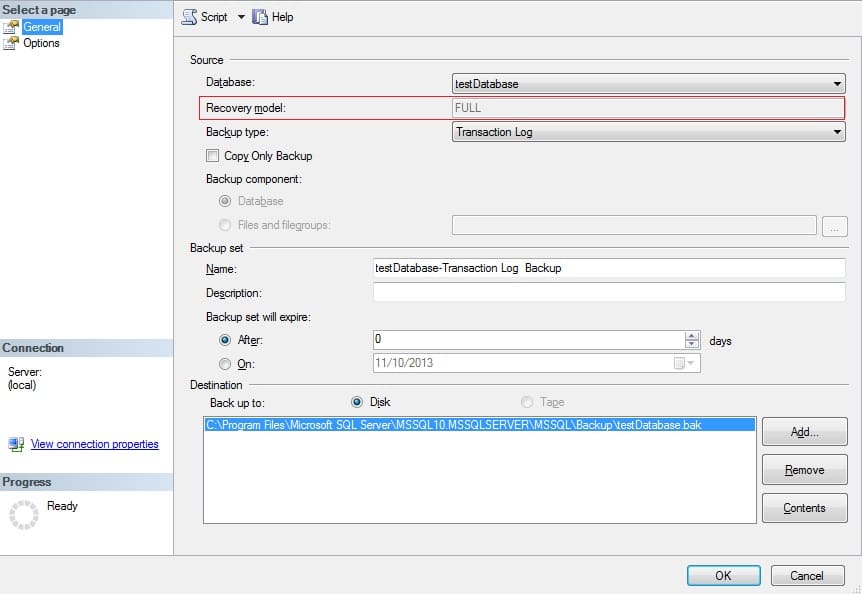
- Select Transaction Log in the Backup type list box.
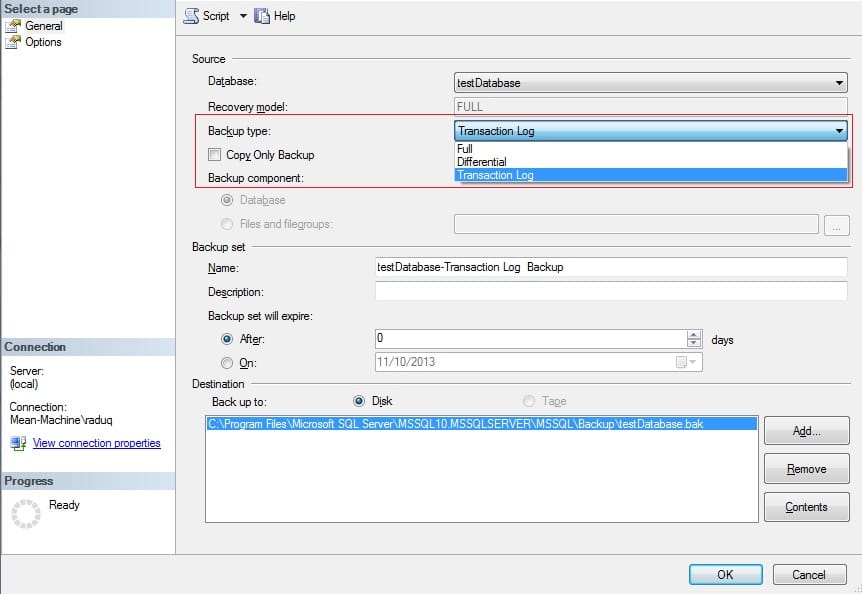
- Make sure that the Copy Only Backup tickbox remains deselected.
- In the Backup list section, you can leave or change the name of the backup and optionally add a description for the backup.
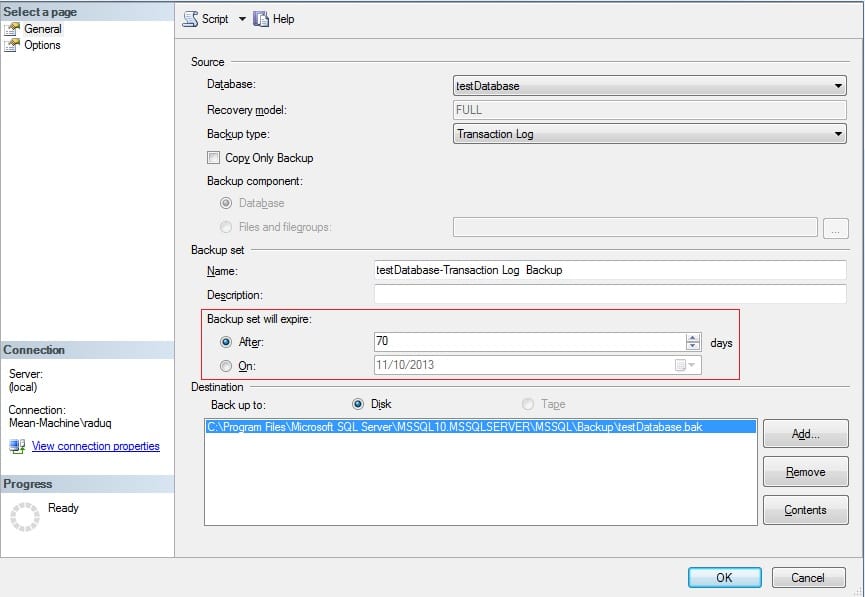
- In the same section, you also have the possibility to add an expiration date or period for the backup.
-
- In order to have the backup expire after a set number of days, click the After option, if it’s not defaulted, and input the number of days after the creation date when you want the backup to expire.
- This value has to be an integer ranging from 0 to 99999, in which case 0 will guarantee that your backup will never expire.
-
- Pick the type of backup destination by selecting either Disk or Tape. You have the possibility of selecting up to 64 paths corresponding to disk or tape drives containing a single media set.
- In the Select Page (top left side of the window) select Options.
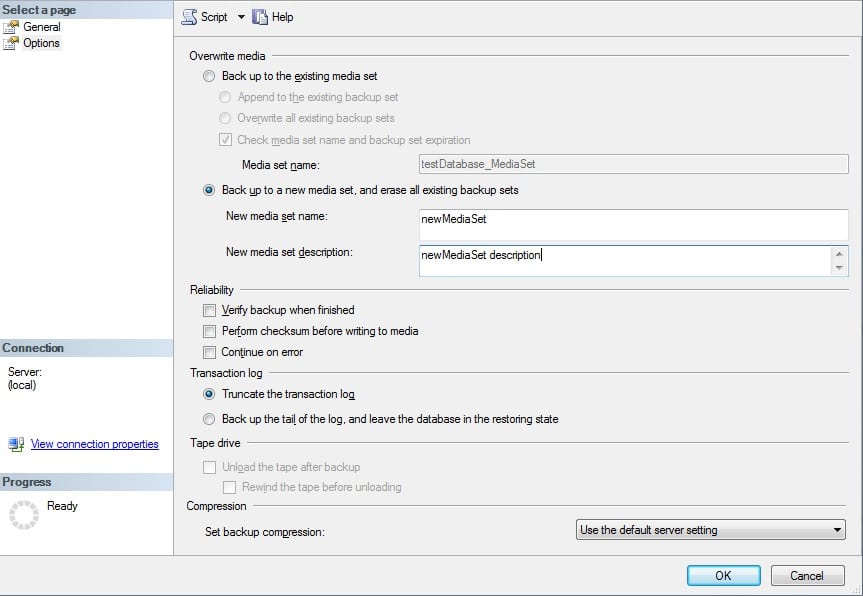
- In the section called Overwrite Media, choose one of the following options:
-
Back up to existing media set
- In case of this option, choose either Append to the existing backup set or Overwrite all existing backup sets.
- By appending another backup to the existing media set, the previous contents of the media remain intact and the new backup is written at the end of the last backup of the media.
- By overwriting all existing backup sets, all other backup sets on the media are going to be overwritten but will preserve the media header, if it is present. In case no media header exists, one is created.
- Another available option is to select Check media set name and backup set expiration, which will cause the operation to check the date and time at which the media set and the backup set are going to expire.
- If the previous checkbox is ticked, you can input a name in the Media set name textbox, and in case no name is input, a media set with a blank name will be created. If a name is specified, the media is checked to see whether the actual name matches the name that has been entered.

-
Backup to a new media set and erase all existing backup sets
- With this option, you enter a name in the New Media set name text box and an optional description.
- The process of creating a new media set implies formatting the backup media (one or more tapes or disk files).
- The formatting process changes the backup media as follows: deletes the old header, effectively deleting the previous contents of the backup media, and writes a new media header on the backup media on each of the backup devices.
-
Back up to existing media set
- The Reliability section provides optional checkups after the backup is made.
- Verify backup when finished
- Perform checksum before writing to media
-
Continue on checksum error
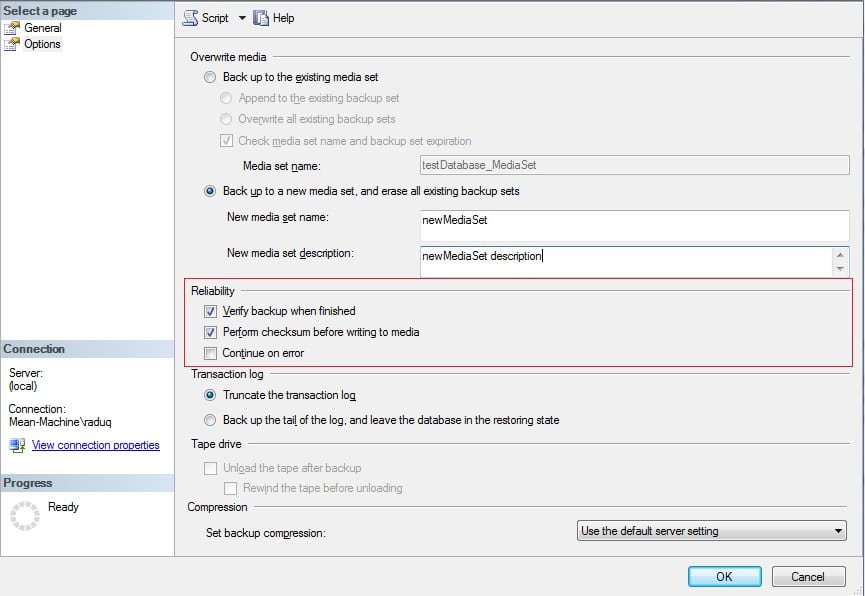
- We recommend ticking at least the first two checkboxes when doing backup
- In the Transaction log section, check Back up the tail of the log and leave the database in restoring state.
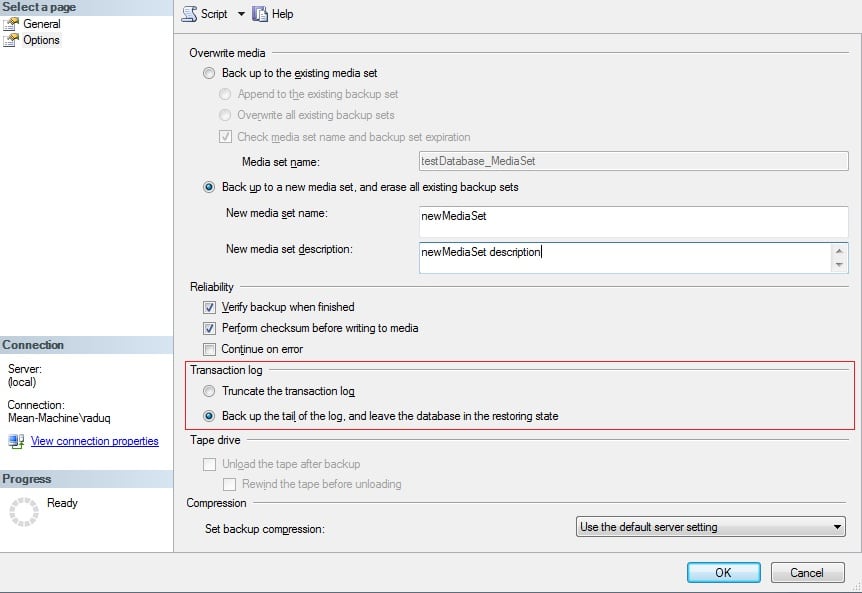
- Optionally, you can select the compression of the backup you are going to make from the dropdown list. For more details regarding the compression of backups, please review our article.
How to backup the Tail of the Transaction Log with T-SQL commands
To backup the “tail”, you just need to add WITH NORECOVERY to the end of the backup command.
BACKUP LOG [database_name] TO DISK = 'path_to_backup_file' WITH NORECOVERY;
After executing this command, the database will be transferred to the RESTORING state, in which no changes can be made to it.