SqlBak.com is the only service that allows you to backup and restore SQL Server databases through your browser. You would need to install a small service program on the server where SQL Servers is installed – everything else is done through your control panel on SqlBak.com
The most important task for a DBA is to provide regular database backups. In this case, you need some kind of scheduler that will perform backups automatically. You can tune the job scheduler if you own a full version of SQL Server, but if you need to perform SQL Server Express backup, then you probably need some third-party backup tool.
SqlBak allows you not only to run scheduled SQL Server Express backups and send them to Dropbox but also to manage them via the web. Let’s see how to do it.
Create a SqlBak Account
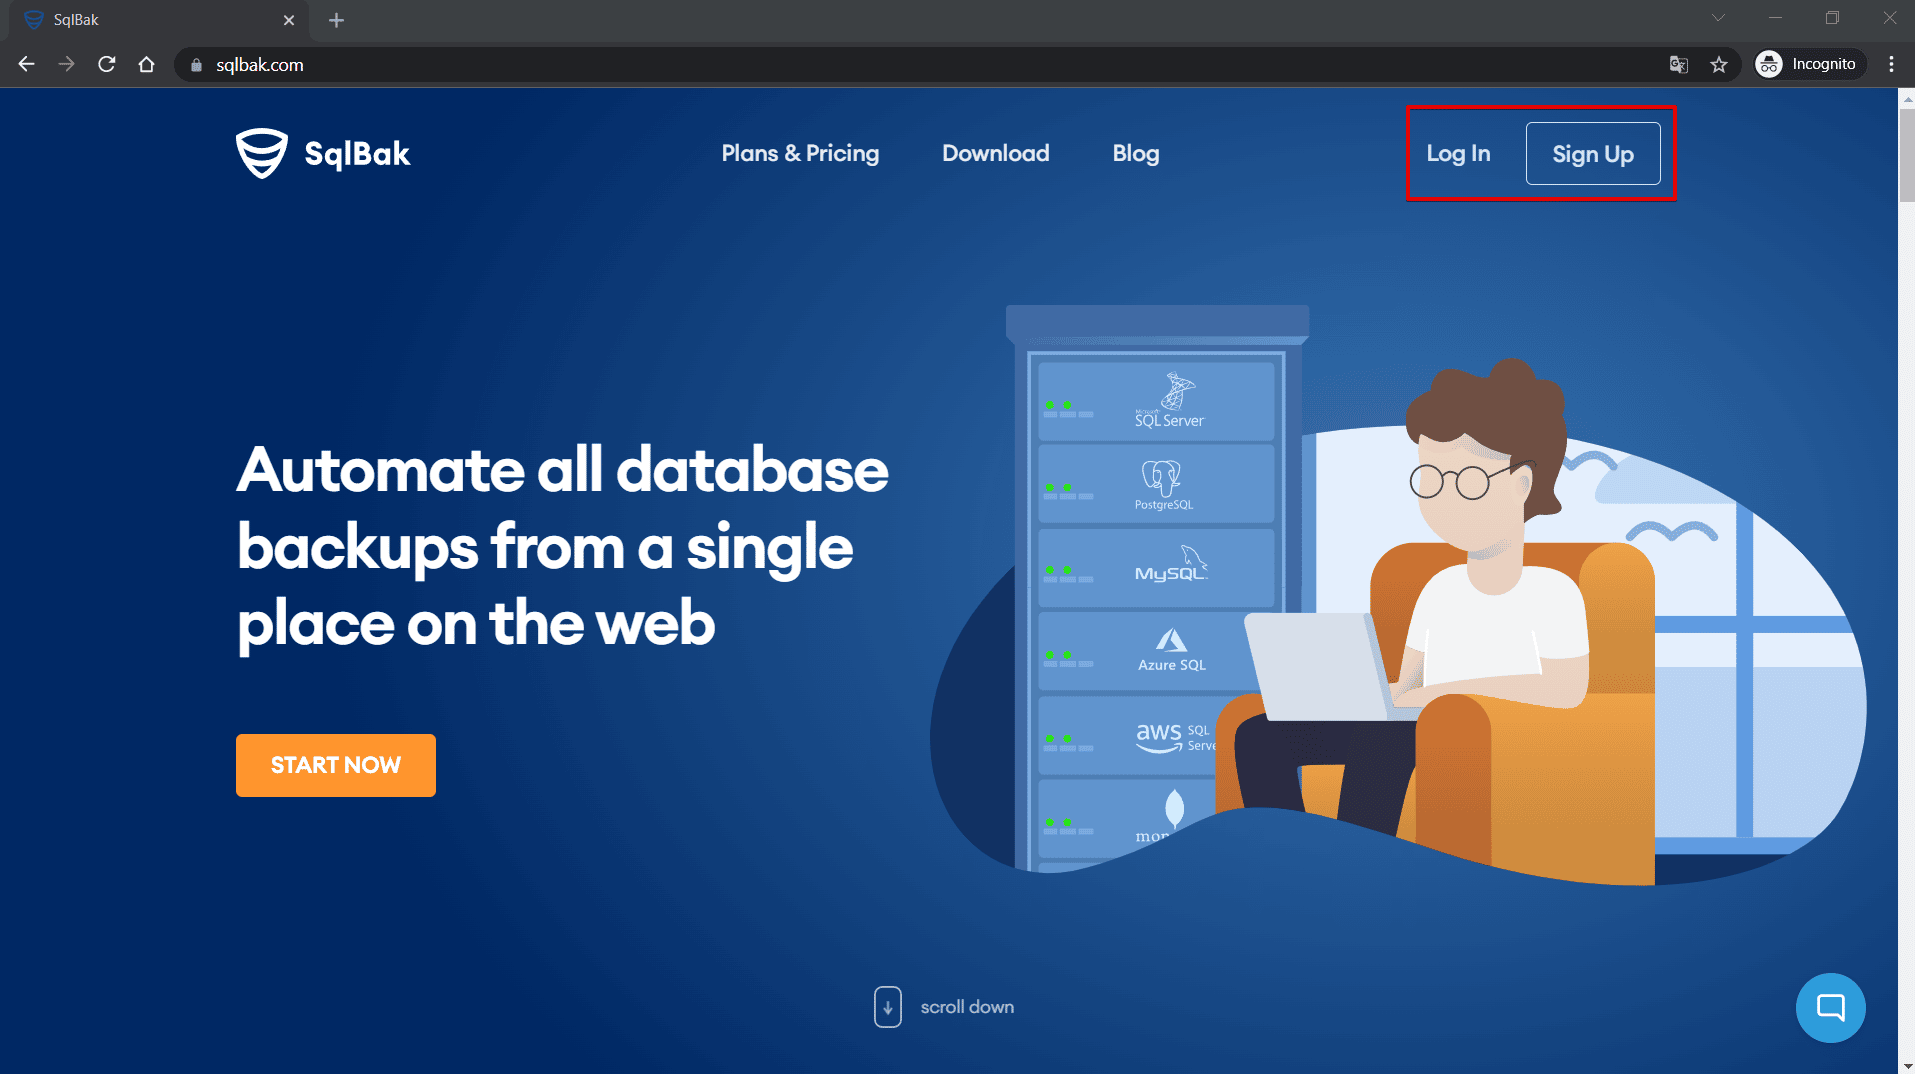
If you do not have a SqlBak account yet, just sign up for a free plan – it only takes a few seconds.
Install SqlBak App
First, download and install a tiny service program – SqlBak App on the server where SQL Servers is installed. After installation, you will see this form:
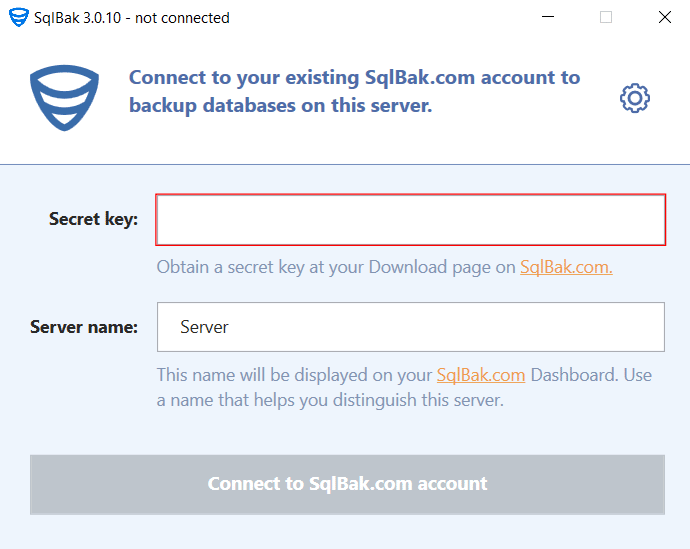
To connect this installation to your SqlBak account, you need to enter a secret key. To get your key, go to the SqlBak Download page,
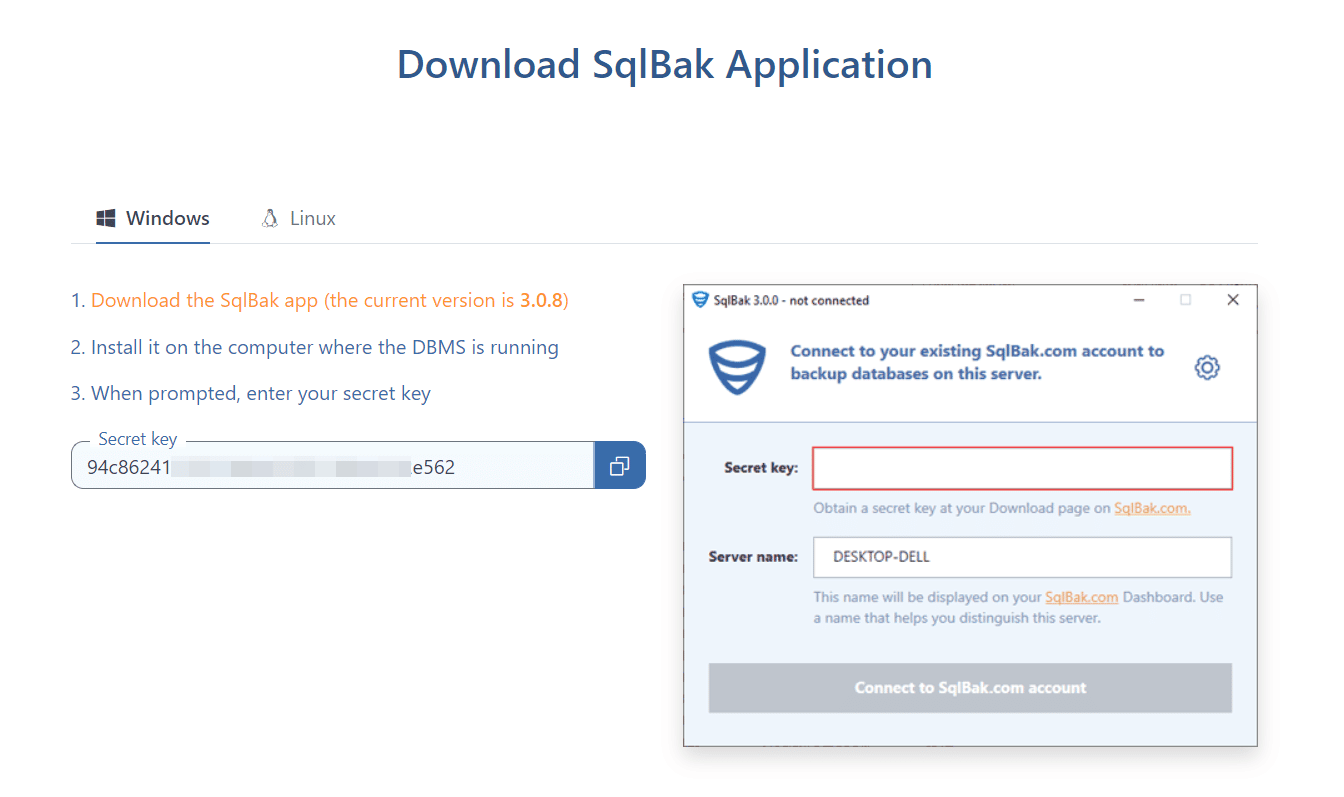
copy your key and paste it into the “Secret Key” box in the SqlBak app. Click “Connect to SqlBak.com account,” and after a few seconds the form would show it is connected:

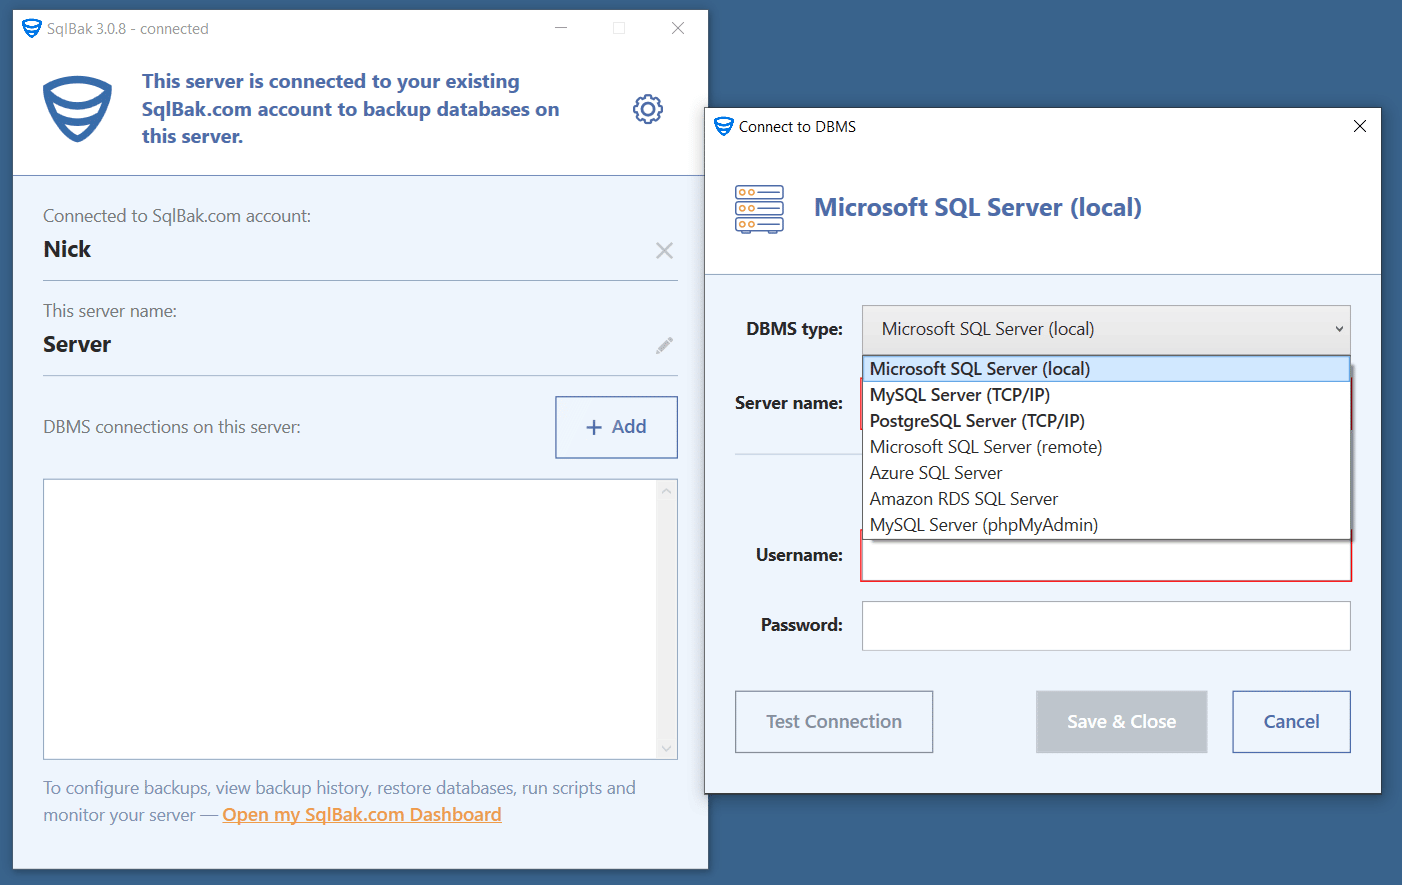
Now it is time to connect to your SQL Server, specify the credentials, and test the connection. To do it click on the “+Add” button and choose Microsoft SQL Server (local).
Once the connection is established, save the settings and close the application. SqlBak App will run in the background.
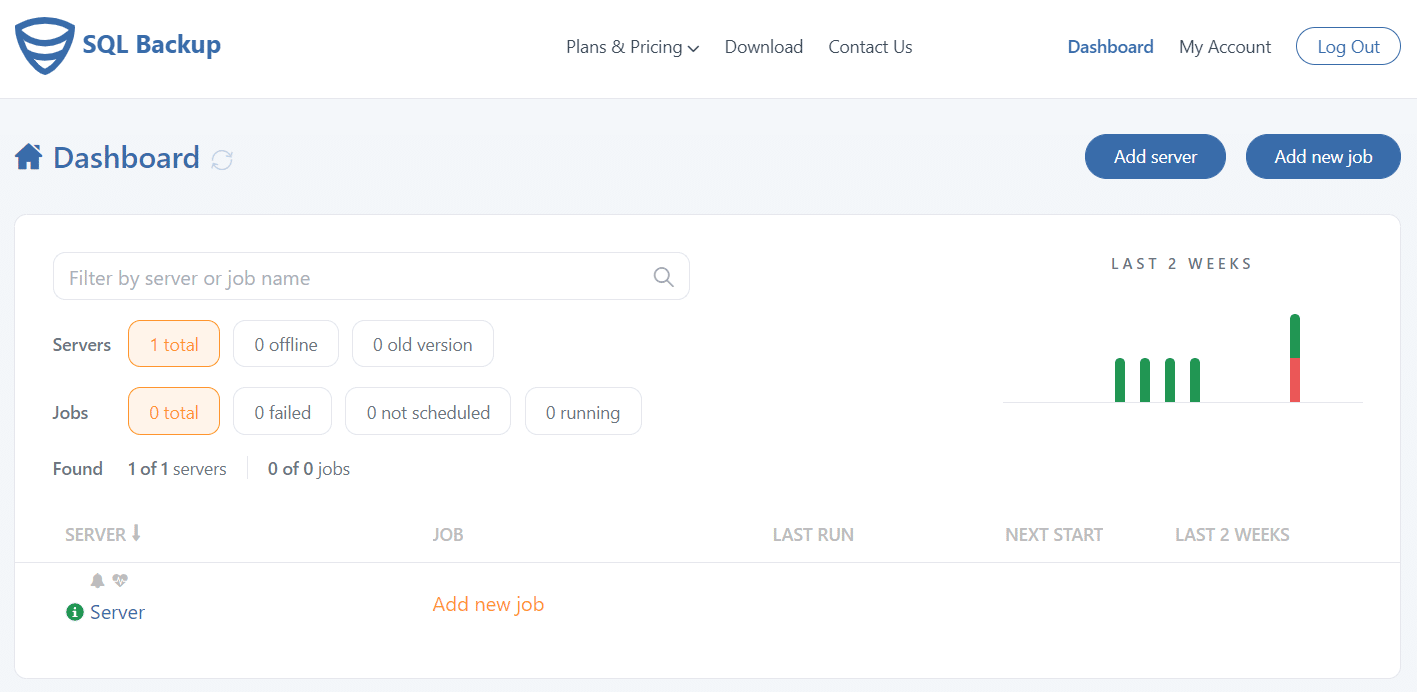
On your SqlBak Dashboard page in the SERVER column, you can now see the connected server. This page allows you to see the status of the connected server and other settings.
Create a new job
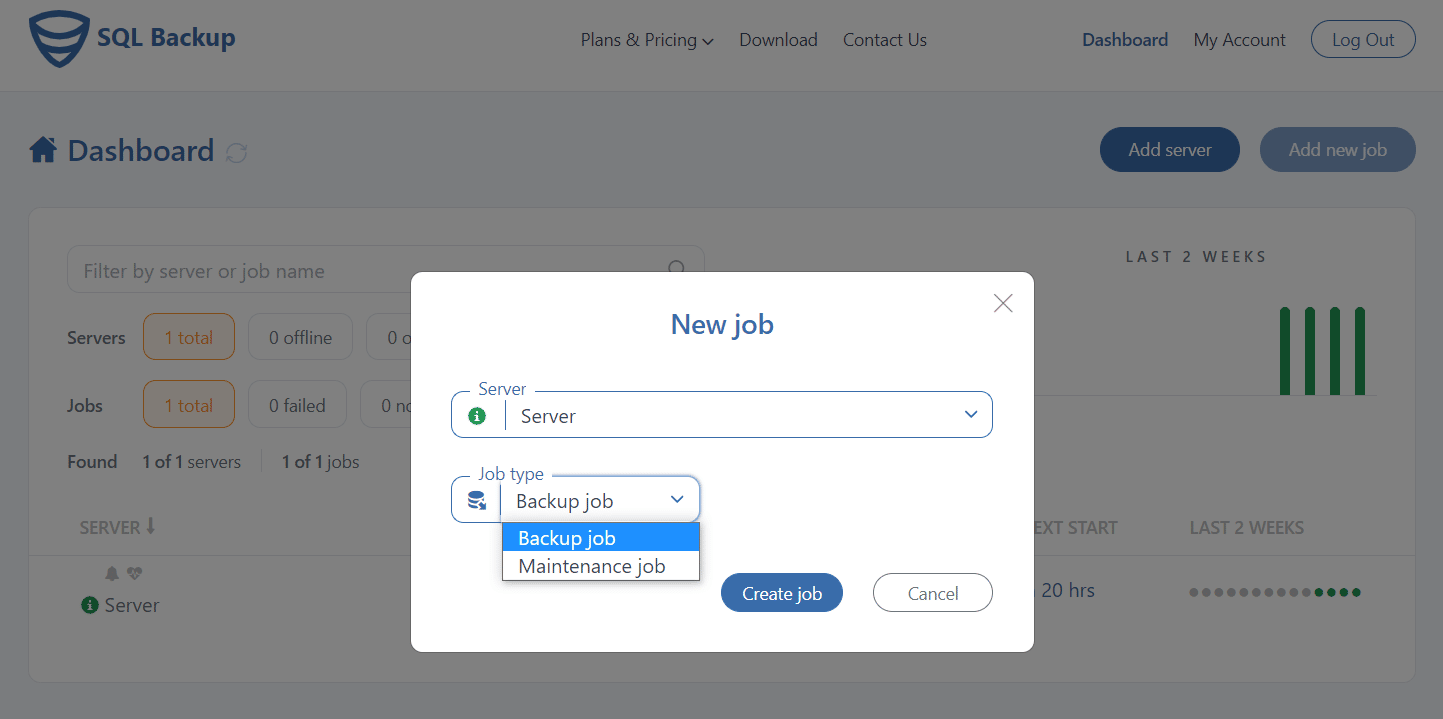
Click on Add new job link to start creating a new backup job. In the popup window, choose your server, set a “Backup Job” as the job type, and click on the “Create job” button.
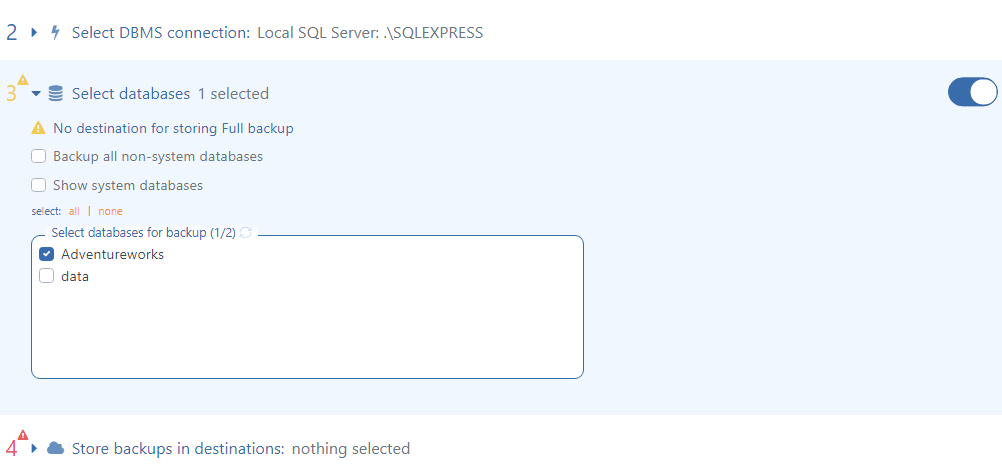
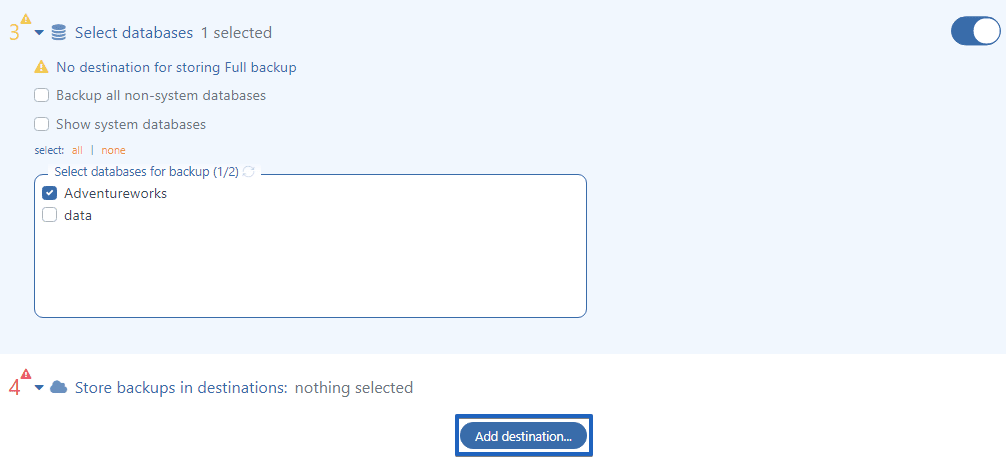
On the opened page, you’ll see all your backup job settings. As the server is chosen and connection to SQL Server is established, it’s time to choose databases that will be backed up. These settings can be found at the “Select databases” section. Click on it and select all databases you prefer to backup.
Then select where to store the backups (backup destination). Click on “Store backups in destinations” and press the “Add destination…” button.
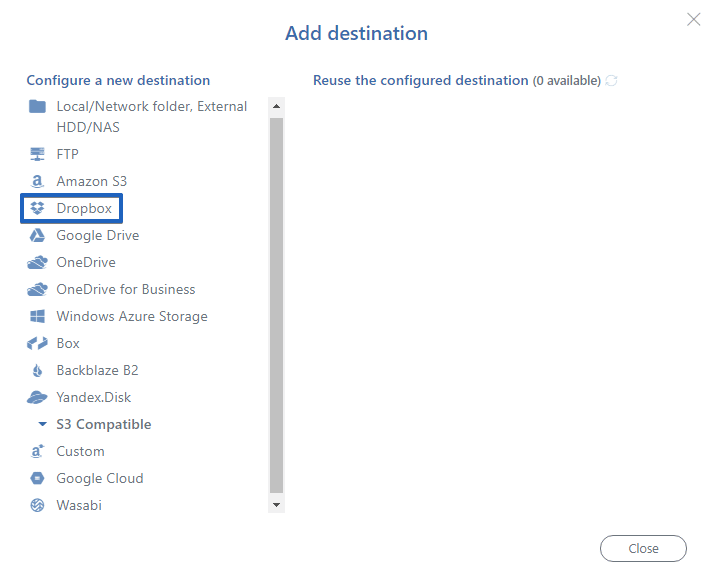
Select “Dropbox” as a destination for your backups.
The “Dropbox Settings” window popup. Here you would need to authorize (only once per server) the SqlBak App to access your Dropbox. Click the “Authorize” button.

The Dropbox authorization page will open in a new browser window. Log in to your Dropbox account if necessary and click the “Allow” button to allow SqlBak to connect to your Dropbox.

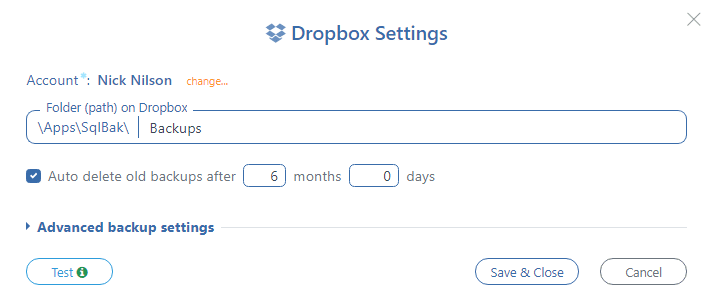
Specify a folder where the backups should be stored. Note that the app will only have access to files in the new \Apps\SqlBak\ folder in Dropbox. Test the connection and save the settings.
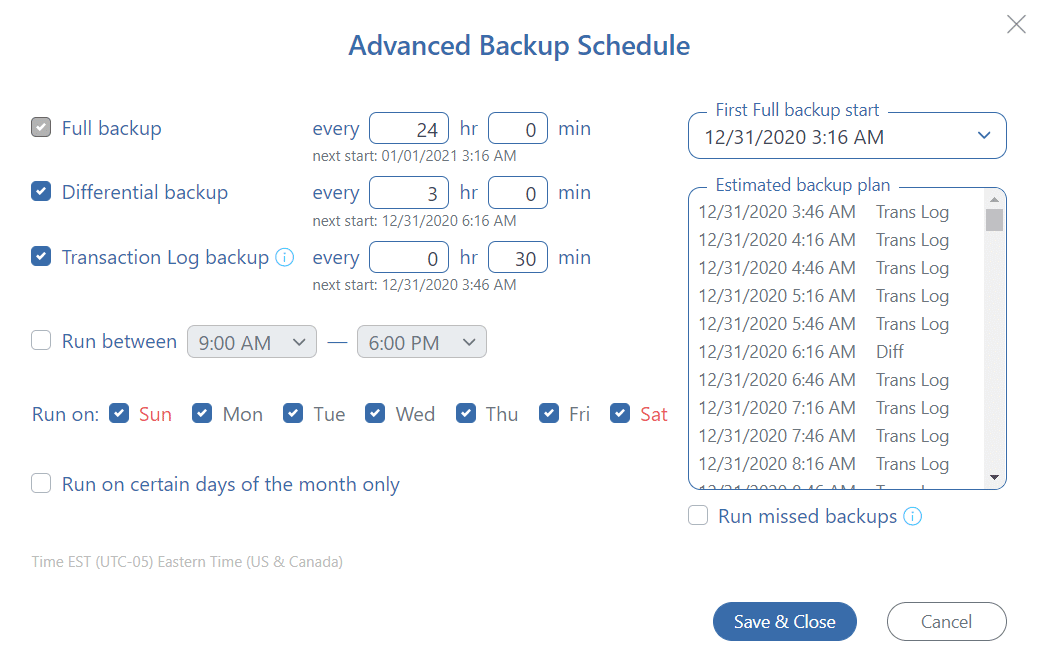
The next step allows you to set a schedule for your backup jobs. Click on the “Schedule backups” and set a time when full backups should be performed. By clicking on the “Advanced settings…” button, you’ll find the advanced backup schedule settings.
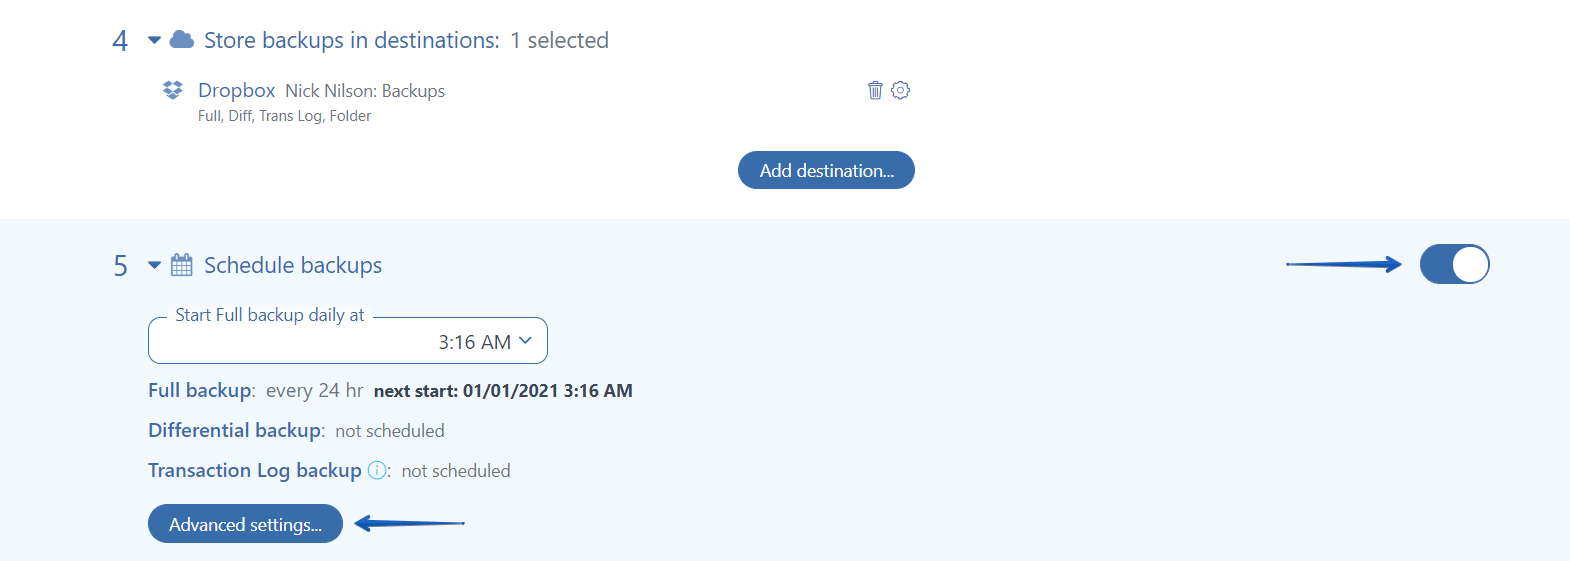
If it is needed, set a schedule to perform differential and transaction log backups along with your full backups. Also, you can set a time interval when the backups should be run.
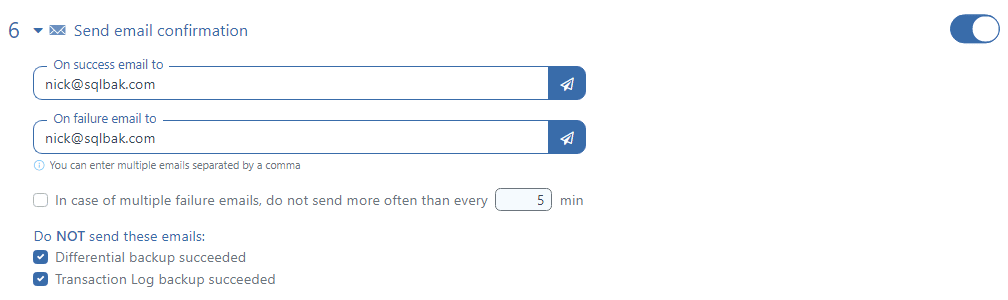
To get email notifications about your backups, please enter your email address into the “Send email confirmation” section for success or failed backups.
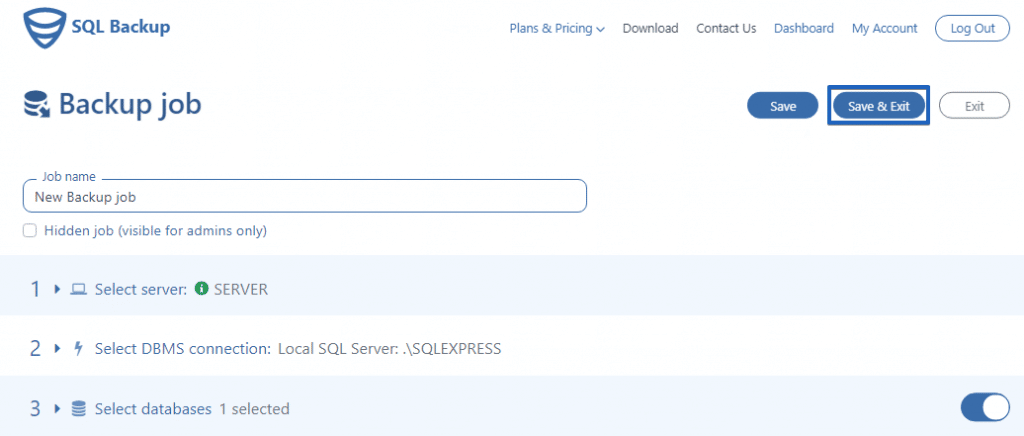
All you need to do is save the settings. You can do it by clicking on the “Save & Exit” button at the right upper bottom of your backup job settings page.
That’s it. Now your backup job will be run according to the schedule, and your backups will be stored in the selected destination place.