 In order to backup a SQL Server to a NAS drive, all you need is to use SqlBak.
Backups are very important, and many organizations have different standards and rules for storing backups, from the more constrained from a security point of view which require you to store them locally (on-premises) to the organizations that allow their DBAs to store backups of their databases onto cloud storage services.
For those organizations that choose to store their backups locally, there are multiple storage solutions, one of which is owning your own NAS.
Before we get into how you can make a backup of your database to a NAS drive, we will first like to explain (or refresh for those of you who already know) a few notions which will be mentioned in the article.
The first item would be to explain what a UNC Path is. UNC stands for Universal Naming Convention and is a standard that dictates how a path to a specific resource (file or folder) is to be represented.
The general form of a UNC Path is:
\\<HostName>\<ShareName>[\<ObjectName>]*
where the [\<ObjectName>]* notation indicates that there could be none or multiple files in the shared directory.
The second item on our list is the NAS. If you haven’t clicked on the link for NAS at the beginning of the article, we’ll just say that a NAS is a dedicated computer system for storage, which is connected to a computer network. It’s not only used as a file server but can have multiple roles, which require different architectures and/or hardware.
Backup a SQL Server database to NAS
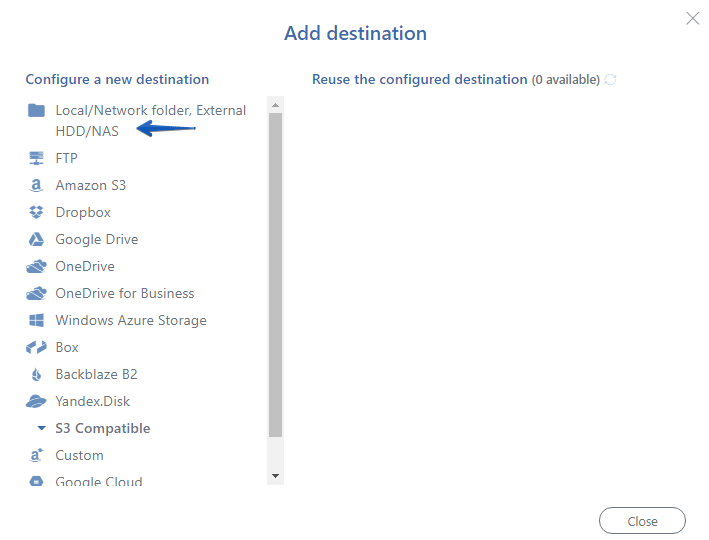
Now back to the main point of our article, in order to backup your database to a NAS drive all you have to do is to go to SqlBak and add a Local/Network folder as a backup destination in your backup schedule screen, after choosing the database server for which you want to make the backup a SQL Server database to NAS.
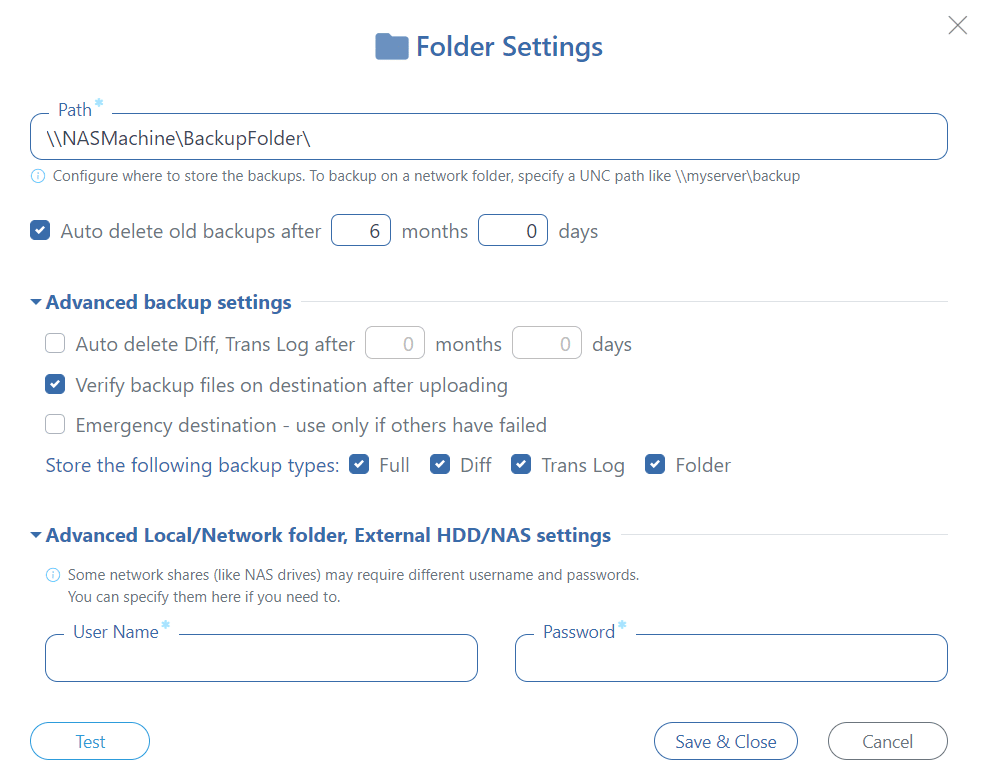
In the next window that appears, make sure that you add the folder name where you want to store the backup of your database and also specify a username/password if the folder requires authentication for access.
In the end, you can press the green Test button, which you can see in the image above in order to verify that you can backup a SQL Server database to NAS.


There is no fill username and password on advanced backup setting
Hello Iwan,
Please contact our support team for more details: https://sqlbak.com/support