After you have passed the registration process and connected SqlBak to your server, go to your Dashboard page and create your first backup job.
Created a backup job
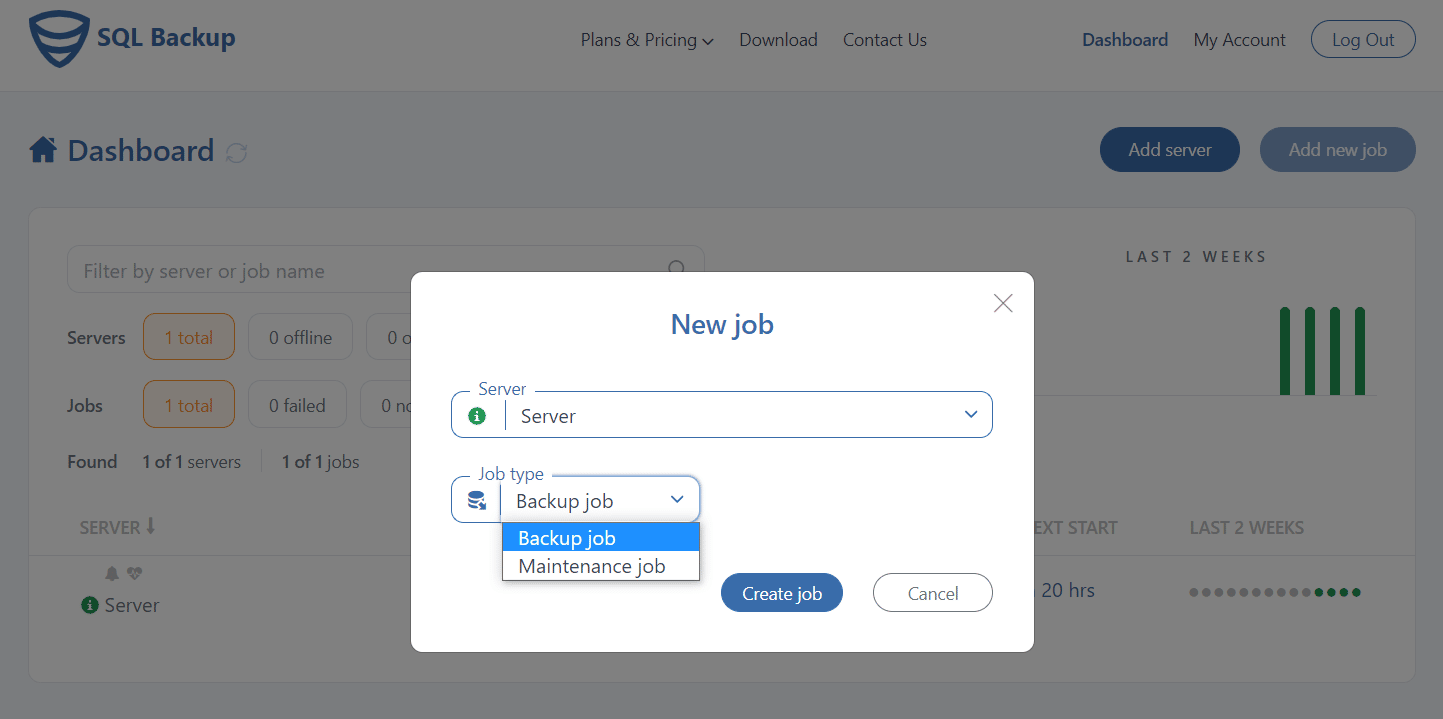
Click on the “Add new job” button, choose “Backup job” at the “Job type” box, and press on the “Create job”.
Select databases
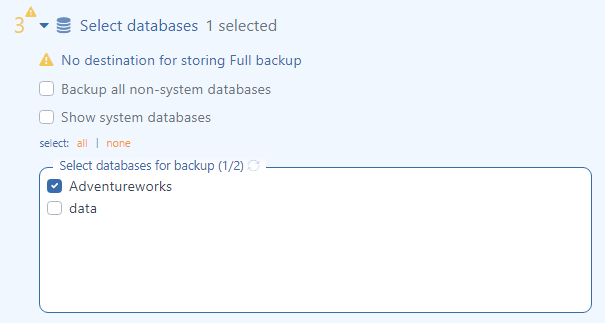
Now select all databases from the list that should be backed up.
Choose a backup destination
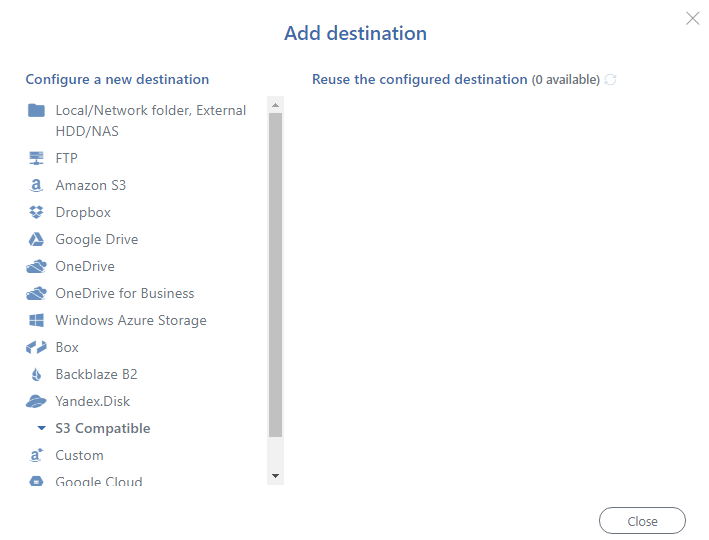
Choose a place where the backups will be stored. To do it, click on the “Add destination…” button at the “Store backups in destinations” section.
In the “Add destination” window, select a destination place. Note, multiply destination places can be set.
That’s it, done, now you can run it!
Your SqlBak backup job is ready, but if you want to automate this job, you need to pass two more simple steps:
Schedule backups
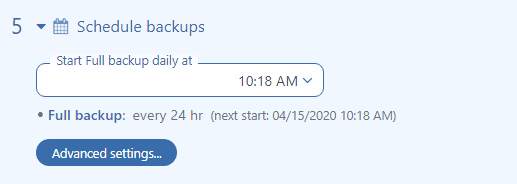
Enable the “Schedule backups” option to create a backup schedule.
Email notifications
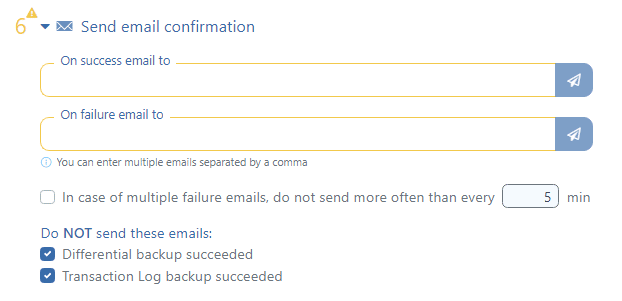
Click “Send email confirmation” and set up email notifications to receive emails in case of backup failure or success.

