It doesn’t matter how big is your hardware store, but it really matters how secure your data are. It is not a secret that the best way of keeping your SQL Server database safe and sound is to make regular backups. Assume that you are a database administrator in a hardware store that has several branches, and all accounting, sales, customers, and any other information is stored in the SQL Server databases. Every day you have to make backups manually running from one hardware store to another and trying to avoid missing anything. But what if you forget to make a backup and the database fails, and you have lost data for the past several days? Would your supervisor be happy to hear that?
Many hardware store networks like Valu Home Centers use SqlBak to make scheduled database backups of their SQL Server databases. One of the main advantages in SqlBak is that your DBA can manage all your databases on all servers from a single place. There is no need anymore to rush from one store to another to administer SQL Server databases.
Backup the Data of your Hardware Store
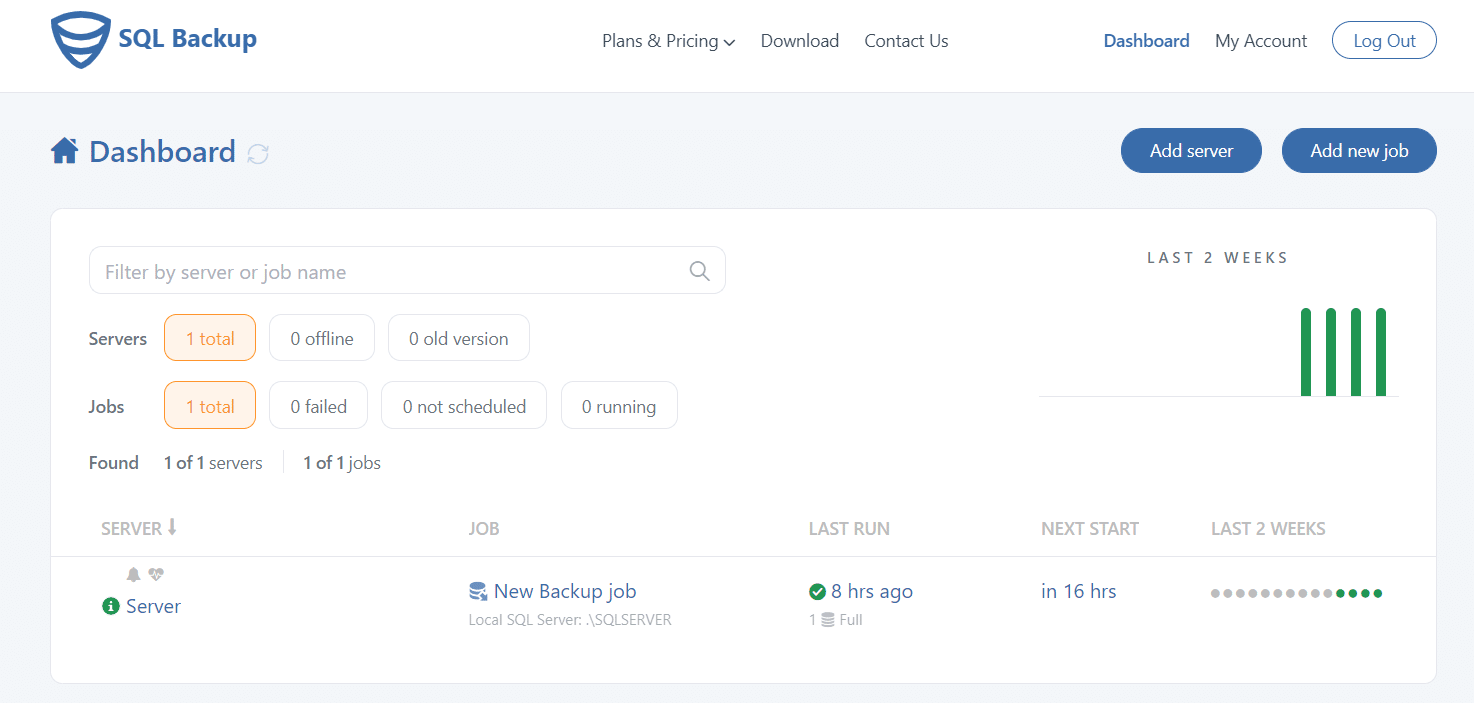
Once you have passed the registration process, you should download and install SqlBak App to all servers where you are going to make scheduled backups. Now go to the Dashboard page where you will find all servers that are connected to your SqlBak account.
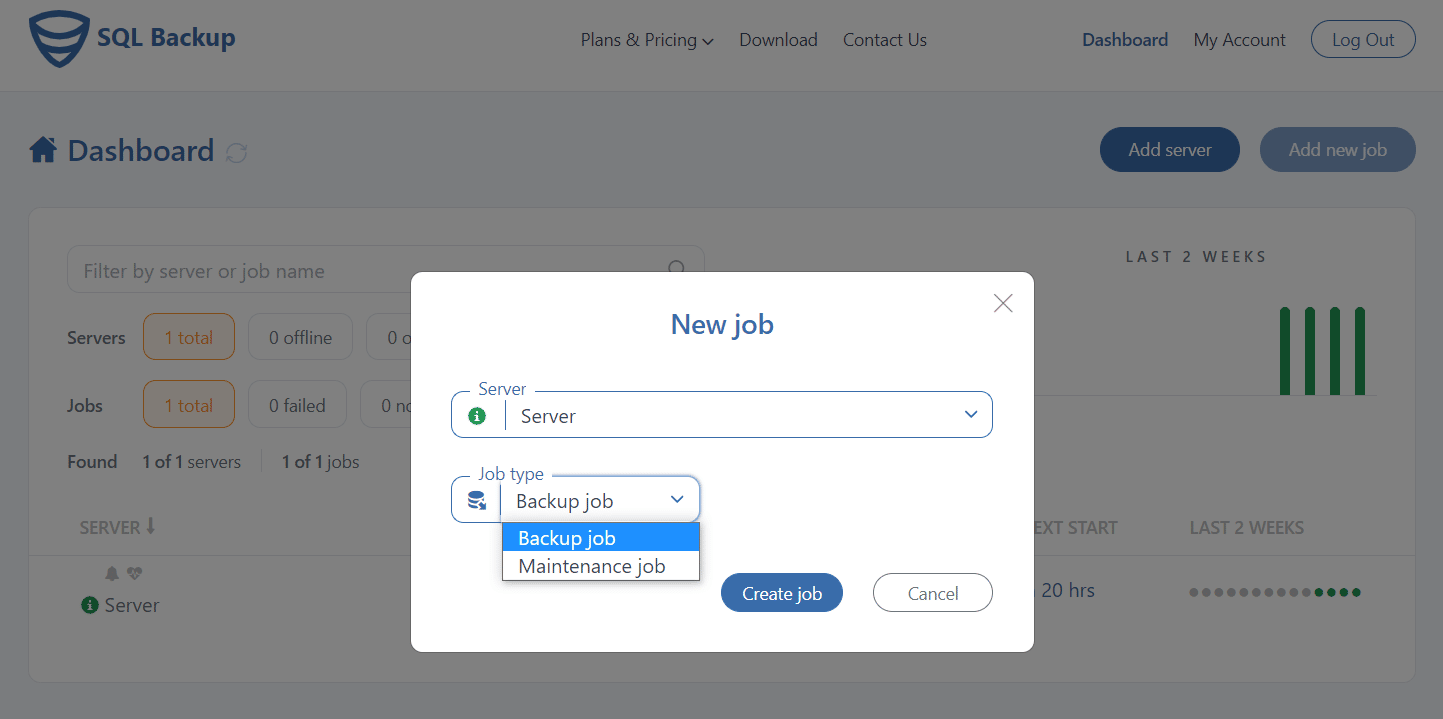
From the Dashboard, you can add a new backup or maintenance job. Let’s add a new job that will make a backup of the database that contains accounting information. To add a new backup job, press the “Add new job” button in the top right corner. In the opened window, please choose the server you are going to work with, and set the “Backup job” as a “Job type”.
Once the settings are made, press “Create job” and adjust all the necessary backup settings and then click “Save & Exit”. Now you can be sure that all backups will be made according to your schedule, and all data of your store will be safe.
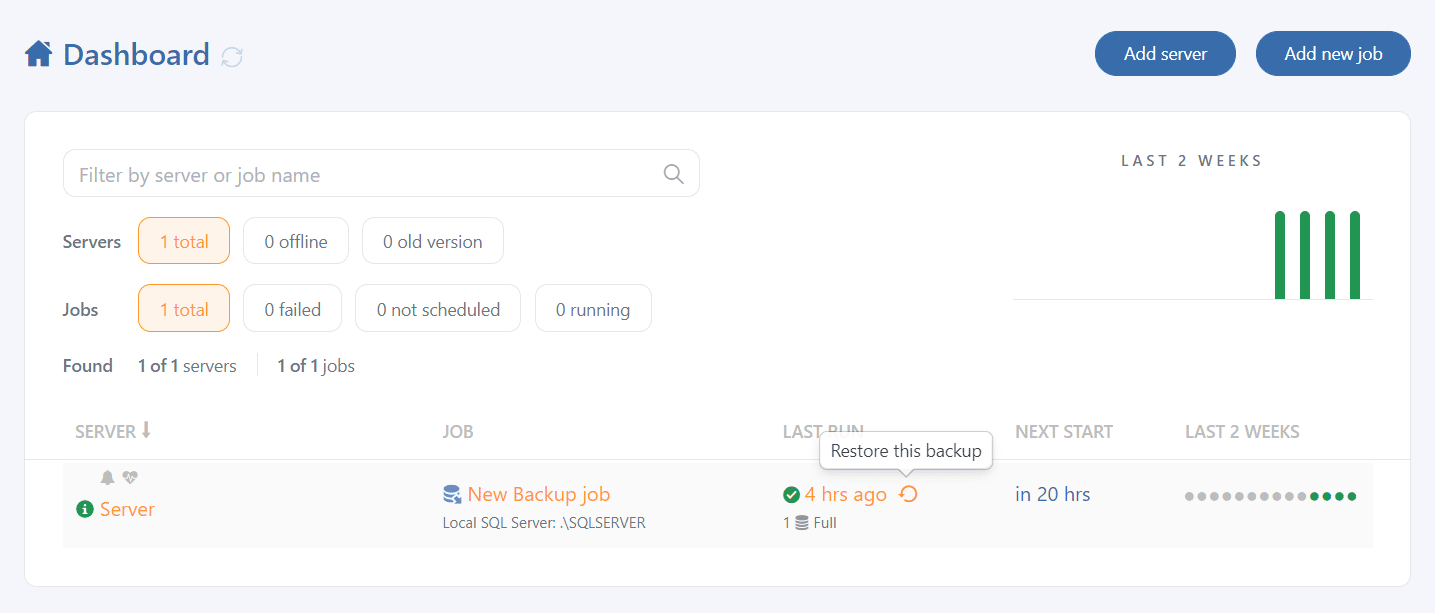
Moreover, if the database failure occurs, you will be able to restore your database from the last backup with the help of the “Restore” button. All you need is to click on the link at the “Last Run” column, press the “Restore” button, and patiently wait until the database is restored.