The average lifespan of an SD card on a Raspberry Pi is two years. It is impossible to predict the date of failure of an SD card accurately. However, if you perform a regular backup of data on the card, its potential failure ceases to be an issue.
The traditional way to create a backup is to physically remove the SD card from the Raspberry PI, insert it into your home PC and create an image of that disk. However, this method comes with two shortcomings:
- It requires physical human involvement.
- The size of the backup will be equal to the size of the SD card.
However, a backup of the entire card is not always required. It will suffice to create a backup copy of the configuration files and data files to restore data.
What should a Raspberry PI backup consist of?
It all depends on the circumstances, but as a rule, the backup file should contain the following data:
- /etc
- /home
- List of packages
- Databases
Where to store backups
The most important thing is to copy the backup files outside the SD card. The backup can be placed in an additional disk connected via USB or in a home PC, but the best solution would be to send the backup to cloud storage.
How to transfer the backup to cloud storage
You can copy any file to the cloud using the rclone utility. Installation instructions can be found here.
The first step is to add a cloud storage connection. After installation, enter:
rclone config
and follow the steps of the wizard.
Then you can transfer any file to cloud storage using the rclone copyto command.
rclone copyto ~/backup/backup.tar.gz
my-gdrive:/backups/backup.tar.gz
This command will upload the backup.gz file to Google Drive, which has been configured with the name “my-gdrive.”
A simple script to backup Raspberry Pi on Google Drive
This script creates a backup copy of the installed packages and their settings. It also dumps the MySQL database. After downloading the backup, the script deletes the archives that were downloaded more than 7 days ago. It is crucial for saving up space in cloud storage.
#re-create a backup directory
rm -rf /backup
mkdir /backup

#create a database's dump
mysqldump --all-databases > /backup/mysql.sql

#copy a package list
dpkg --get-selections > /backup/Package.list
sudo cp -R /etc/apt/sources.list* /backup/
sudo apt-key exportall > /backup/Repo.keys

#compress directories
tar -czf /backup/backup.tar.gz /home /etc /usr/local/etc ./backup

#send to the cloud
rclone copyto /backup.tar.gz my-gdrive:/backup-for-article/backup.tar.gz

#delete old backups
sudo rclone delete my-gdrive:/backup-for-article/ --min-age 7d

#delete the temporary directory
rm -rf /backup
You can schedule this script to run regularly using cron
sudo crontab -e
and add the command to run the script.
0 0 * * 0 bash /home/user/scripts/backup-all.sh
Now every midnight, the data required to restore your Raspberry Pi will be automatically downloaded to Google Drive.
How to recover data created with such a script
Immediately after restoring the OS, you can start restoring data from a backup.
#unpack all data
tar -xvf backup.tar.gz /

#restore list of packages
sudo apt-key add /backup/Repo.keys
sudo cp -R /backup/sources.list* /etc/apt/
sudo apt-get update
sudo apt-get install dselect
sudo dselect update
sudo dpkg --set-selections < /backup/Package.list
sudo apt-get dselect-upgrade -y

#restore database
mysql < /backup/mysql.sql
Third-party backup utilities
Another way to create a Raspberry Pi backup is to use the SqlBak service. SqlBak is a service primarily focused on creating a database backup, but you can use it to back up all data on the Raspberry Pi.
The first step is to install the thin client on the device. More details on how to do this can be found here.
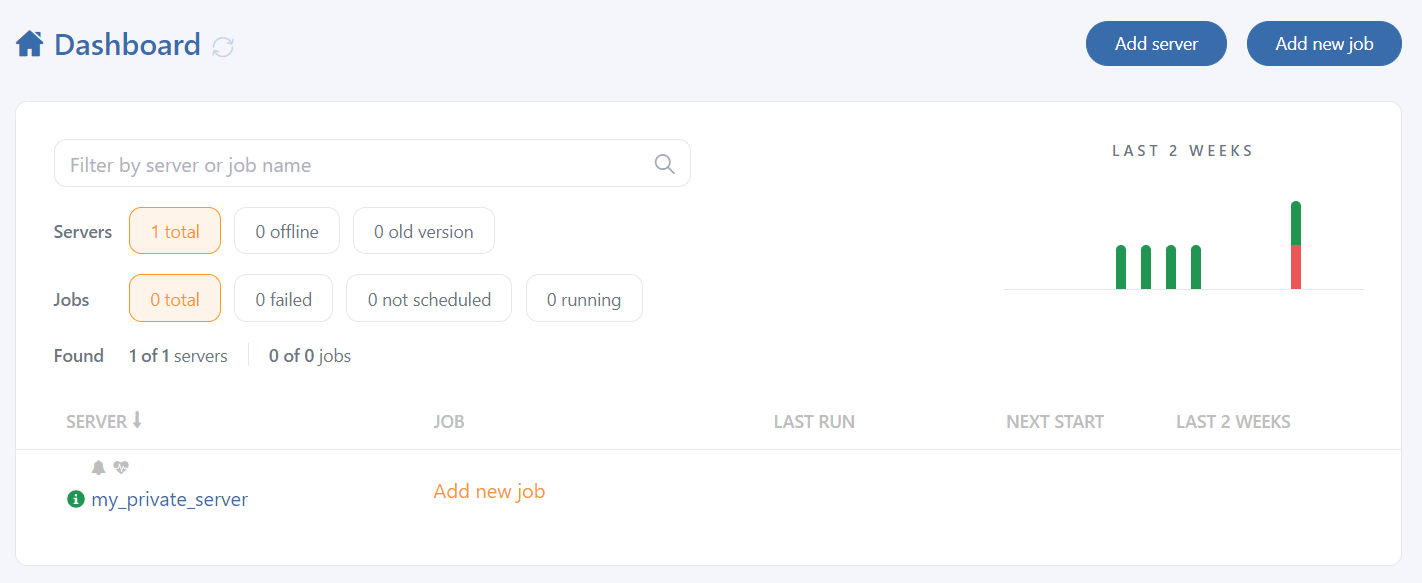
Once SqlBak is installed your server will be displayed on your Dashboard page.
Now it’s time to set a connection to your DBMS, assuming you use MySQL. Use the following command to estimate the connection:
sudo sqlbak --add-connection --db-type=mysql --user=root
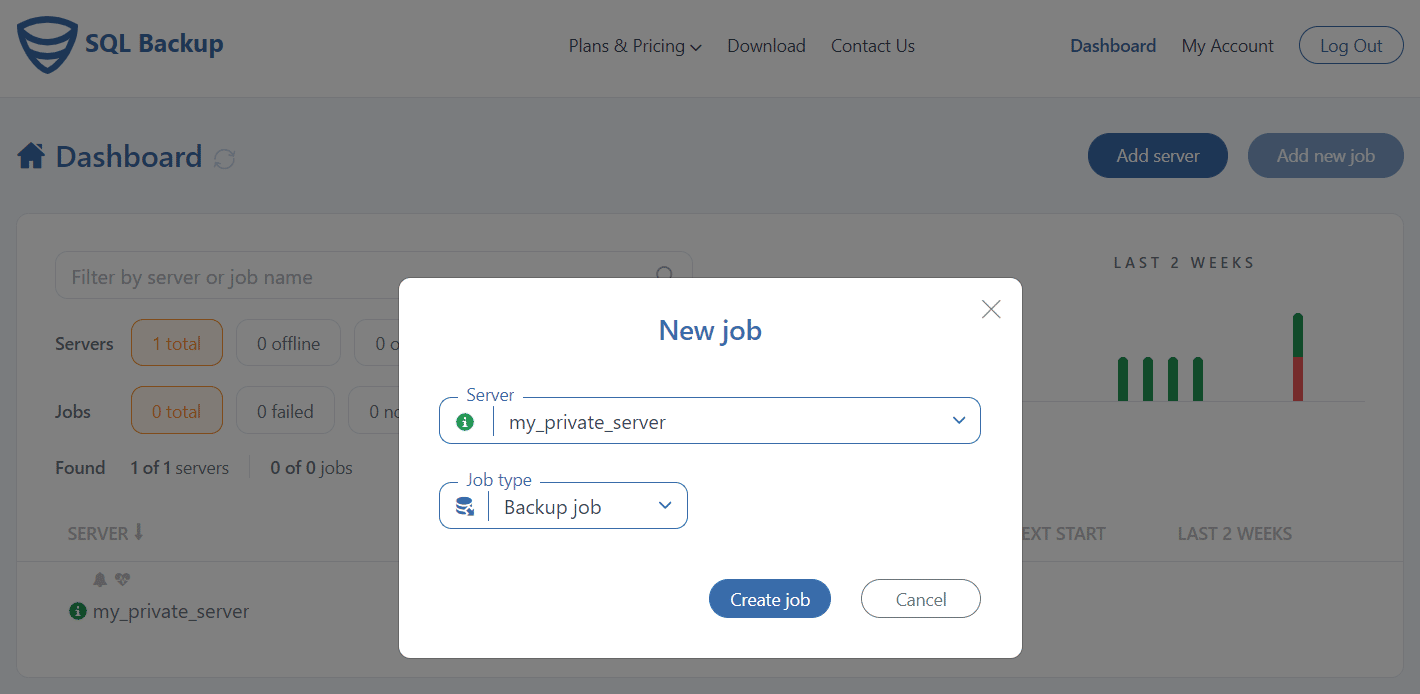
The application is installed and the connection is set, everything is ready to create a backup job. To do it, click on the “Add new job” button and select “Create job.”
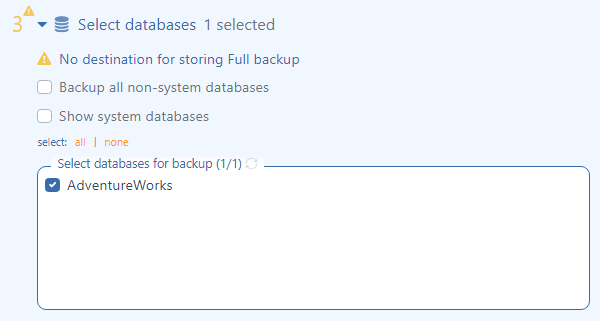
On the opened page go to the “Select databases” section, and select all the databases that should be backed up during that job.
At the “Store backups in destinations” section, please choose the destinations (Folder, FTP, Amazon S3, GoogleDrive, DropBox, Azure Blob Storage or OneDrive) where the backups will be stored. Multiple destinations can be set, for example, local folder and Amazon S3.
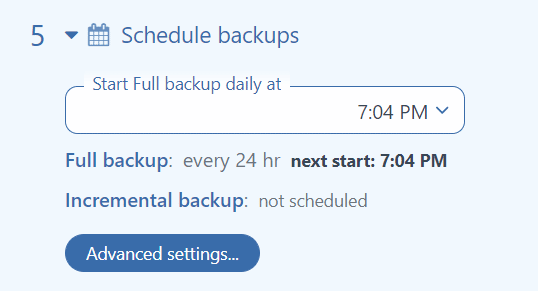
 Go to the next point and set a schedule for the backup job. In the advanced settings, an interval to run the job can be set.
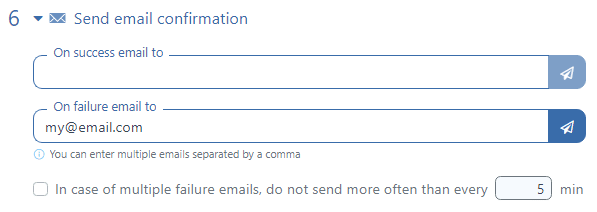
Scroll down to point 6 and specify your email (you can specify several emails separated by a comma) to receive the emails if the job was completed successfully or failed.
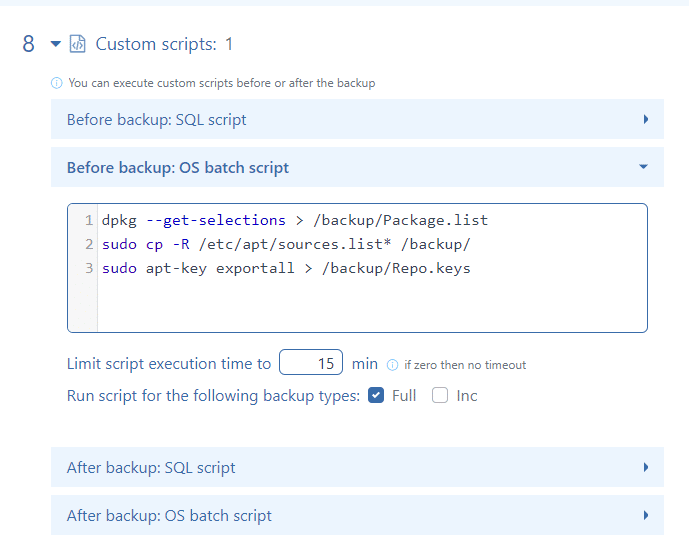
As in the case of the script, you need to create a backup of the package list, so you need to add a shell script
dpkg --get-selections > /backup/Package.list
sudo cp -R /etc/apt/sources.list* /backup/
sudo apt-key exportall > /backup/Repo.keys
and also select the folders that need to be backed up in the “Folder backup” section.
/etc/
/usr/local/etc
/backup/
/home/
Those are the settings. Save the settings and the backups will be performed according to the schedule.
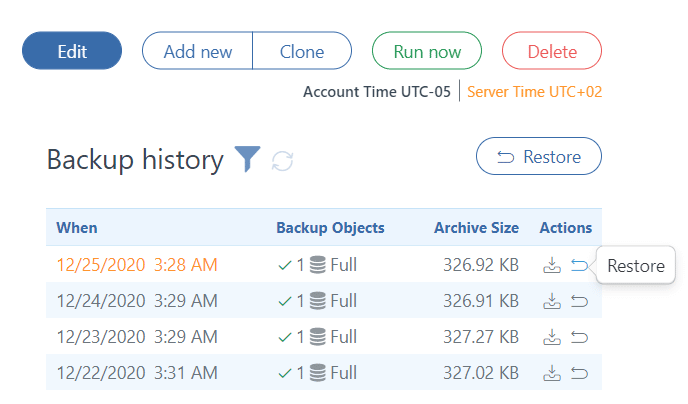
The very last backup can be restored easily from the “Dashboard” page by clicking the “Restore this backup” icon at the “LAST RUN” column, or you can choose the appropriate one from the list on your backup job setting page.
After restoring the /backup directory, you must manually execute the following script to restore the packages:
sudo apt-key add /backup/Repo.keys
sudo cp -R /backup/sources.list* /etc/apt/
sudo apt-get update
sudo apt-get install dselect
sudo dselect update
sudo dpkg --set-selections < /backup/Package.list
sudo apt-get dselect-upgrade -y
Bottom line
All Raspberry Pi data is stored on an SD card, and the easiest way to back it up is to pull out the card and insert it into the PC. However, instead of backing up the entire system, you can back up only what you really need.


Hi
I have tried your google drive method but I am getting the following error:
$ bash /home/xxxx/scripts/backup-all.sh
mkdir: cannot create directory ‘/backup’: Permission denied
/home/xxxx/scripts/backup-all.sh: line 5: /backup/mysql.sql: No such file or directory
/home/xxxx/scripts/backup-all.sh: line 7: /backup/Package.list: No such file or directory
cp: target ‘/backup/’ is not a directory
/home/xxxx/scripts/backup-all.sh: line 9: /backup/Repo.keys: No such file or directory
tar: Removing leading `/’ from member names
tar (child): /backup/backup.tar.gz: Cannot open: No such file or directory
tar (child): Error is not recoverable: exiting now
tar: Removing leading `/’ from hard link targets
tar: /backup/backup.tar.gz: Cannot write: Broken pipe
tar: Child returned status 2
tar: Error is not recoverable: exiting now
2024/08/23 17:08:16 ERROR : Local file system at /backup.tar.gz: error reading source root directory: directory not found
2024/08/23 17:08:16 ERROR : Attempt 1/3 failed with 1 errors and: directory not found
2024/08/23 17:08:16 ERROR : Local file system at /backup.tar.gz: error reading source root directory: directory not found
2024/08/23 17:08:16 ERROR : Attempt 2/3 failed with 1 errors and: directory not found
2024/08/23 17:08:17 ERROR : Local file system at /backup.tar.gz: error reading source root directory: directory not found
2024/08/23 17:08:17 ERROR : Attempt 3/3 failed with 1 errors and: directory not found
2024/08/23 17:08:17 Failed to copyto: directory not found
2024/08/23 17:08:17 NOTICE: Config file “/root/.config/rclone/rclone.conf” not found – using defaults
2024/08/23 17:08:17 Failed to create file system for “gdrive:/backup-for-article/”: didn’t find section in config file
Hello,
Based on the first error in your log:
mkdir: cannot create directory ‘/backup’: Permission denied
It seems that you do not have sufficient privileges to create the backup directory in the root directory of the system.
Please try one of the following:
Change the Directory: Modify the directory specified in the backup script (you might need to adjust other settings as well).
Run the Script as a Superuser: Execute the script with superuser privileges.